You purchased, were gifted, borrowed, stole, or otherwise obtained a HomeKit device of some sort whether it an outlet, smart lock, light, or other device. Congratulations! You are well on you’re way to a more convenient and connected life. While I do recommend that manufacturers’ apps are used, you might feel rebellious and decide you only want to use Apple’s Home app. Firmware updates be damned! Don’t worry. I’ve still got you covered. In this piece we’ll look at the simplicity that is adding a HomeKit accessory using Apple’s Home app. We’ll look at the different settings for the accessory; in this case, it is a smart plug. Though settings may differ depending on the accessory category, the setup process is exactly the same. We’ll also see how easy it is to remove an accessory. Hopefully, you’ll be doing more of the former than the latter.
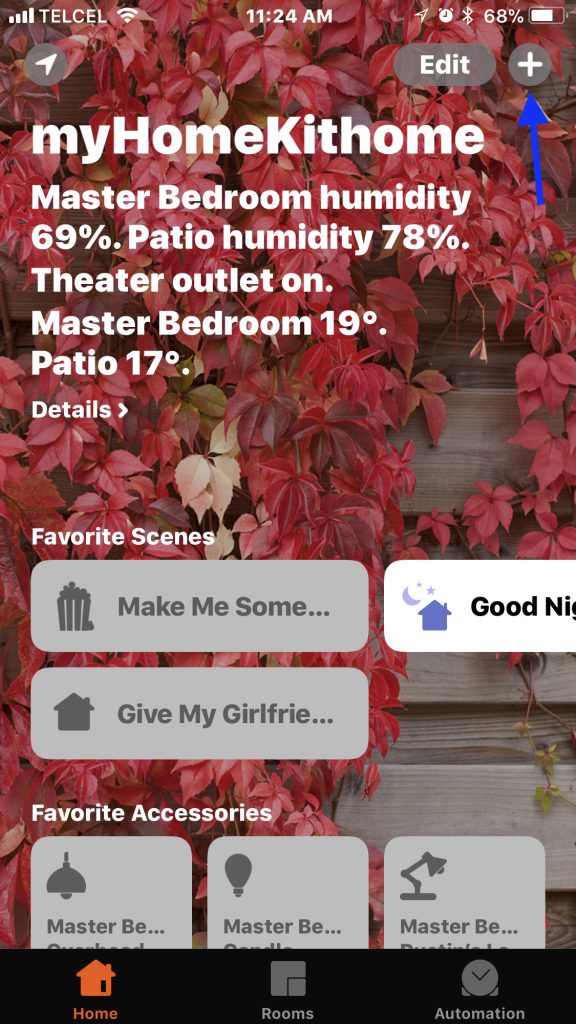
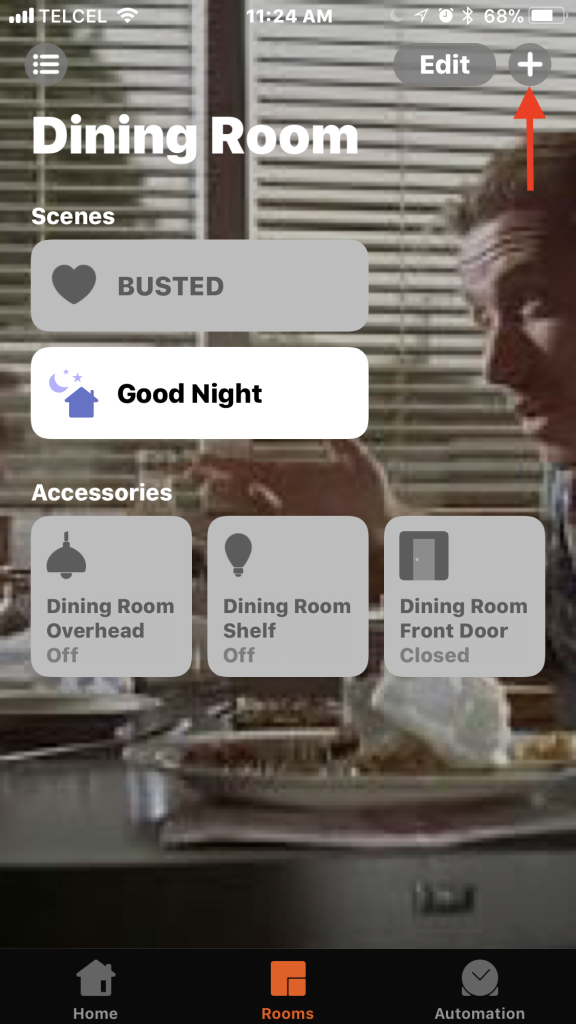
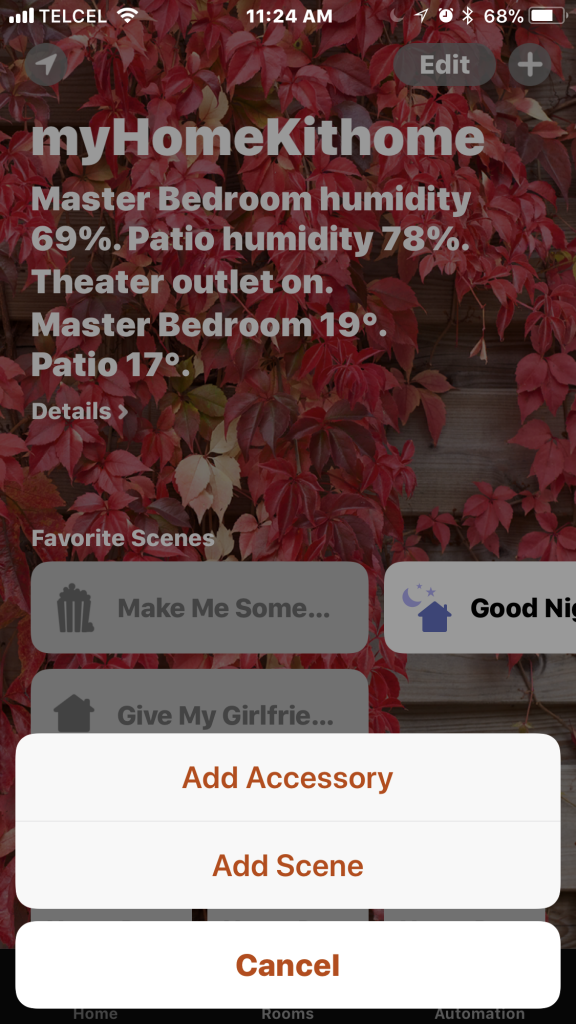
1. From either the ‘Home’ or ‘Rooms’ tabs, tap the plus (+) button on the top right corner of Apple’s Home app and tap “Add Accessory”.
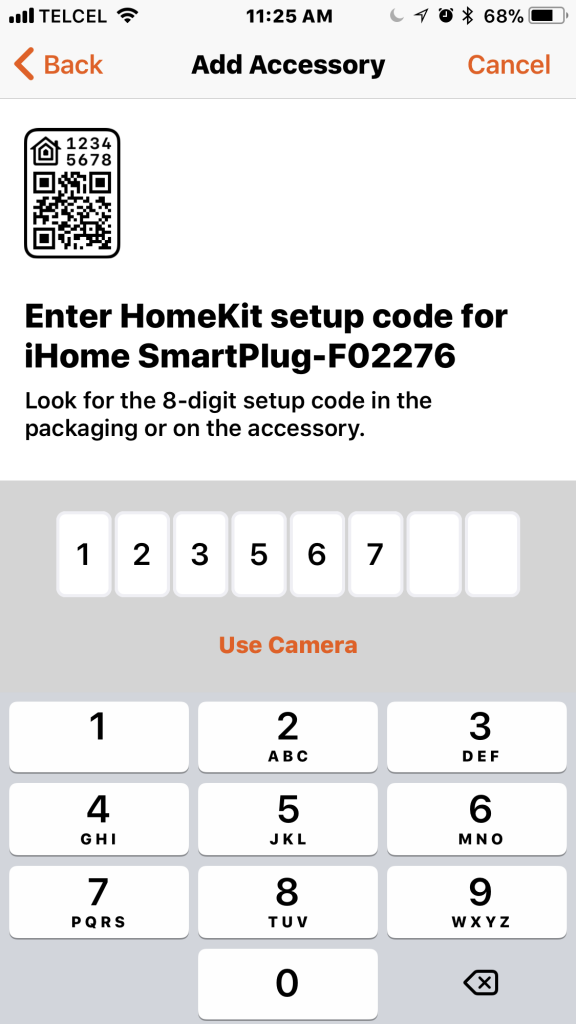
2. You’ll now be prompted to scan either the 8-digit HomeKit code or the QR code which can be found either on the accessory itself or in the included packaging. Apple has now also allowed for NFC pairing, but as of yet, I’m not aware of any manufacturers who are taking advantage of this. Alternatively, you can manually enter the HomeKit code. For this part of the setup process, you’ll also want to make sure that the device has power, is switched on, and in relatively close proximity.


Note: If your accessory uses a bridge like Phillips Hue, Lutron Caseta, Logitech POP, or Belkin’s Wemo bridge, you’ll need to use the manufacturer’s app to add the accessory.
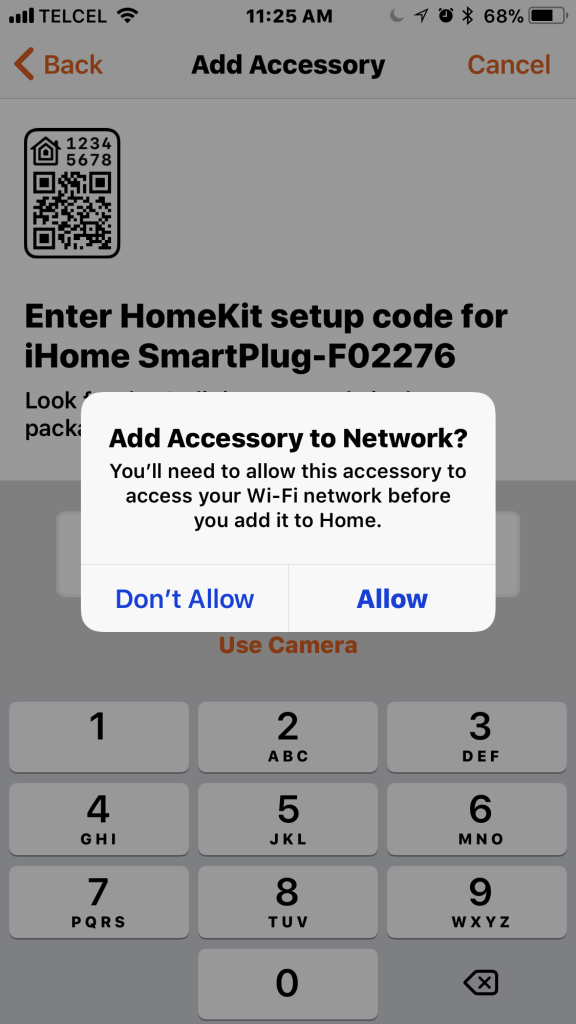
3. For accessories that connect over WiFi, you’ll need to grant permission for the device to access your WiFi settings which will transfer yoru credentials to the accessory allowing it to join the network.
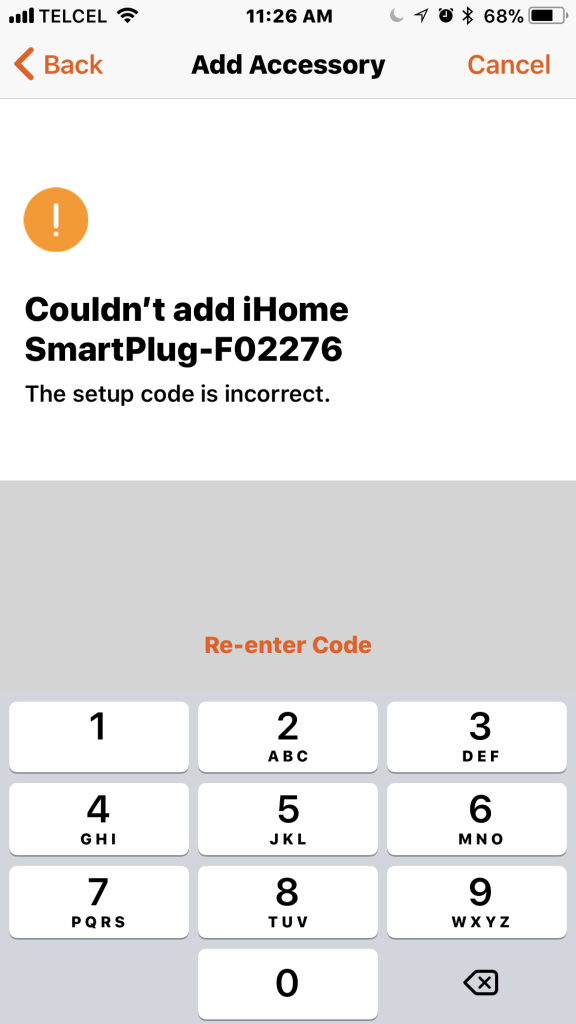
4. It’s not entirely uncommon for this process not to work the first go ’round. Don’t fret. First, ensure that the device has power and is in an “on” state. You can also go into your device’s WiFi settings and check if the accessory is broadcasting its own signal. If so tap on the network and follow the instructions. If this doesn’t work, you can try to restore factory settings on the device per the manufacturer’s instructions. We’ve got a few different accessory-specific guides in the Factory Reset section of the blog.
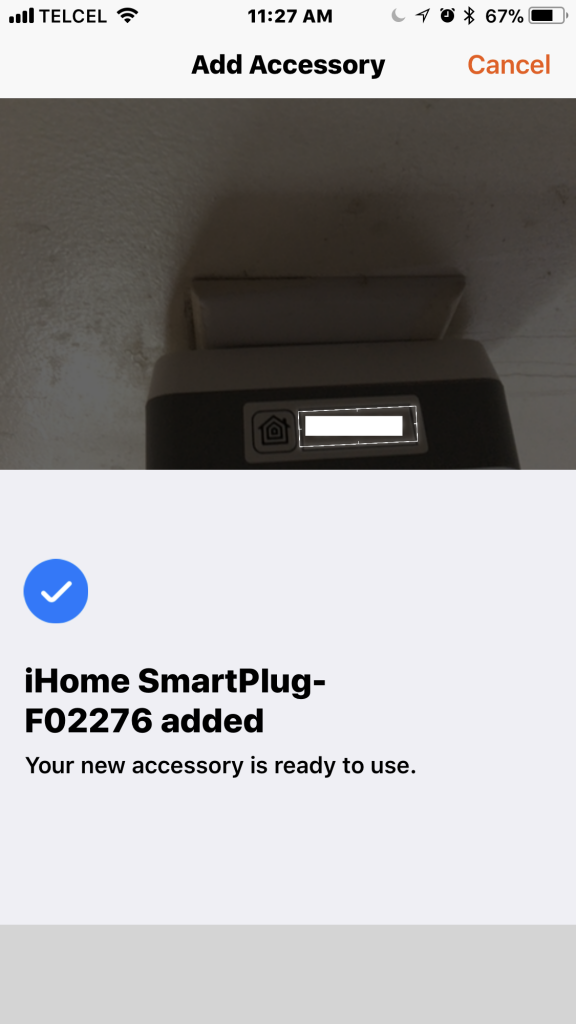
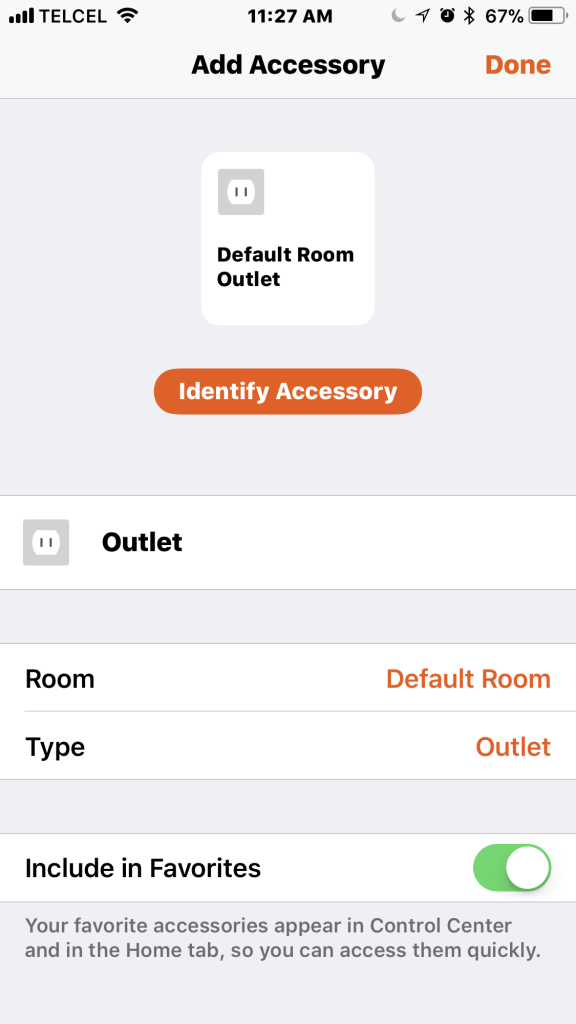
5. Now comes the customization and fun stuff. We can first edit the name of the accessory. This one is important as this is how Siri knows which device to control. You’ll probably want to name it something natural and that you’ll remember or that aptly describes the accessory being controlled. You can also choose the room that the accessory is in. Again, you’ll usually want to name this room what you would call it in your actual home, but who am I to judge your choices or tell you how to run your house; that’s what Siri’s for. Finally, we have the option of including our newly added accessory in our Favorites so that it appears on the Home tab.
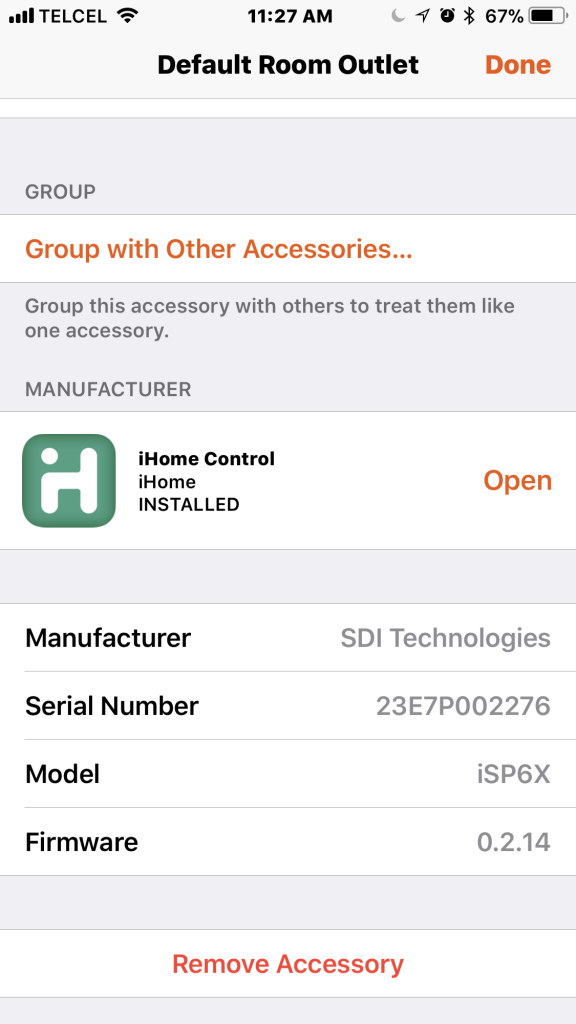
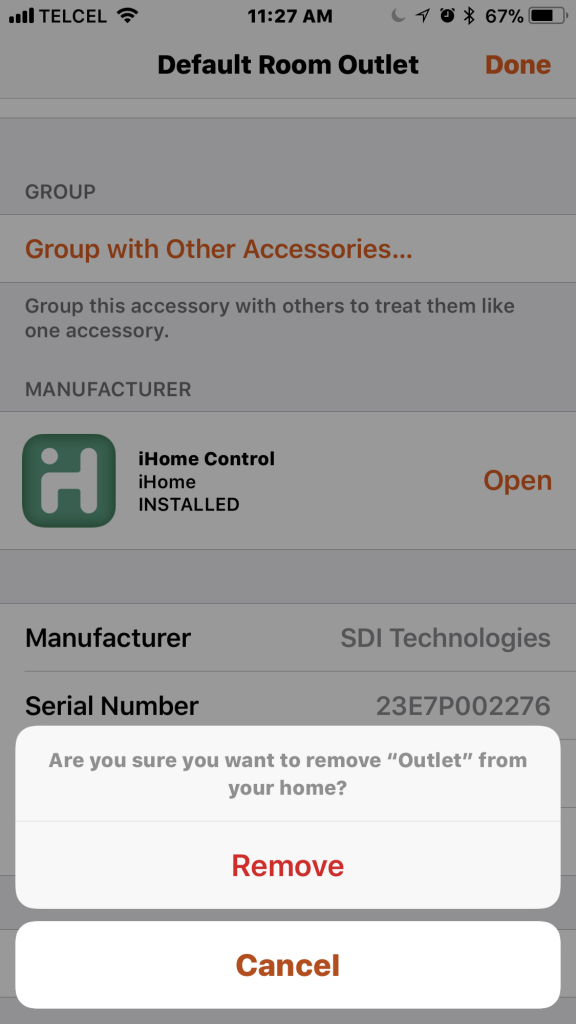
6. There are a few different reasons you might want to remove an accessory from your HomeKit setup. Though not what we hope for, sometimes we do have issues and may need to reset a device if it stops responding. You definitely want to remove it from HomeKit before resetting it and attempting to add it back to your Home. You might also want to share the HomeKit love with a beloved friend or family member by gifting them a (slightly) used accessory before or after you replace it. For whatev er reason, you’ll want to not only perform a factory reset on the accessory, but remove it from your Home app to avoid any potential configuring issues in the accessory’s next home.
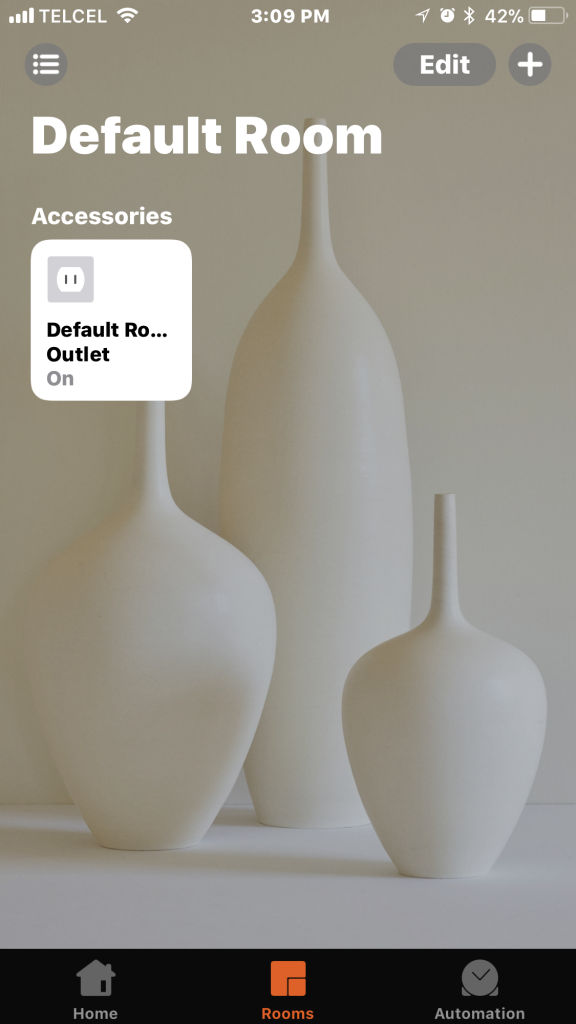
You’re all set and on your way to a more connected home. While the setup process is the same, different accessory types have different connfigurations and controls and they are pretty easy get up and running.
What was your first HomeKit accessory? What was your most recent addition? Let us know in the comments below. Come hang out with us on Facebook, Twitter, and Instagram @myhomekithome.
We use income-earning affiliate links.
We may receive a small commission on purchases made using links on this page at no extra cost to you.