Whether home or away, one of the conveniences afforded to us with HomeKit is the ability to be notified when certain things change. If it a detection of movement in a room, a door or window being opened, or a water leak being sensed, notifications offer us some peace of mind in knowing what’s going on in our homes. We can receive notifications from a number of different HomeKit accessories including various sensors, locks, and garage doors. This post will review how to enabled notifications, manage when we receive them, and how they are presented to us.
Home Notification Settings
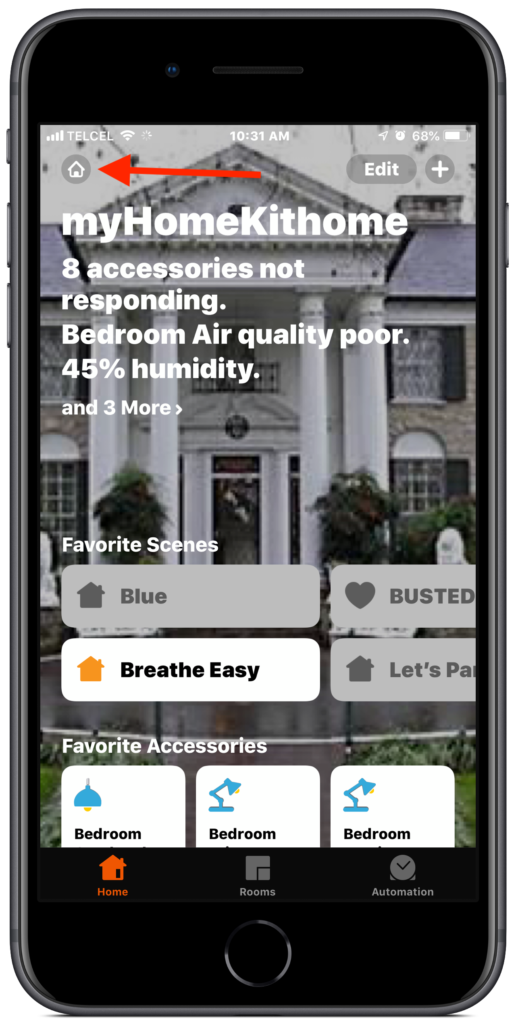
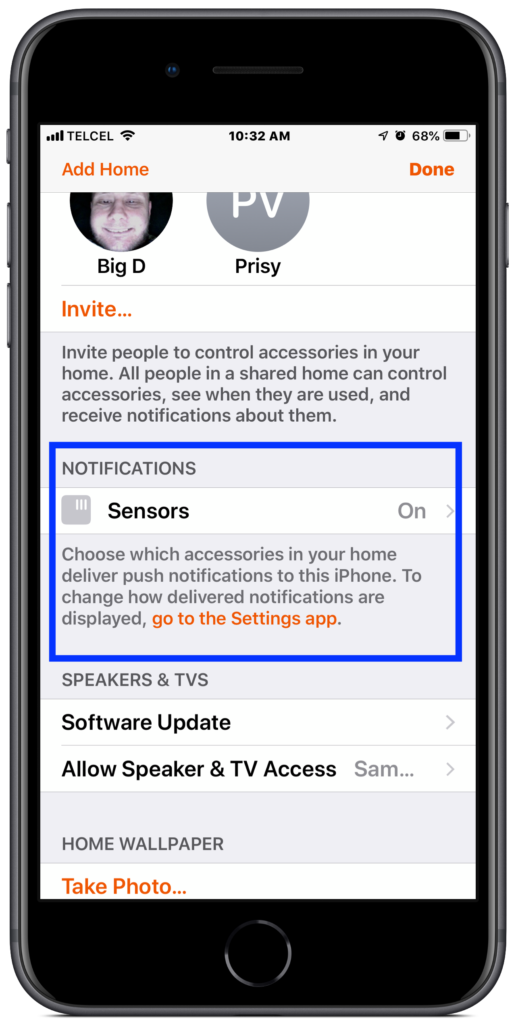
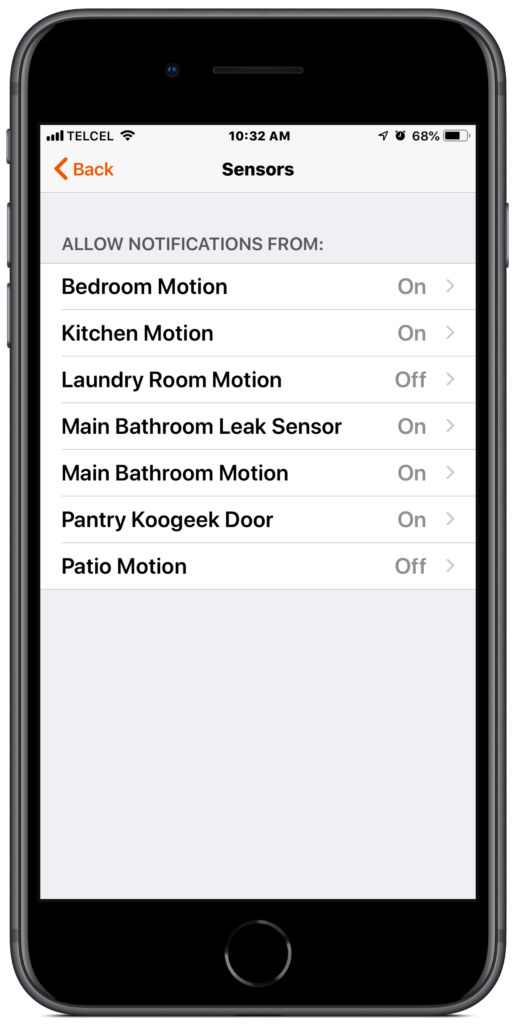
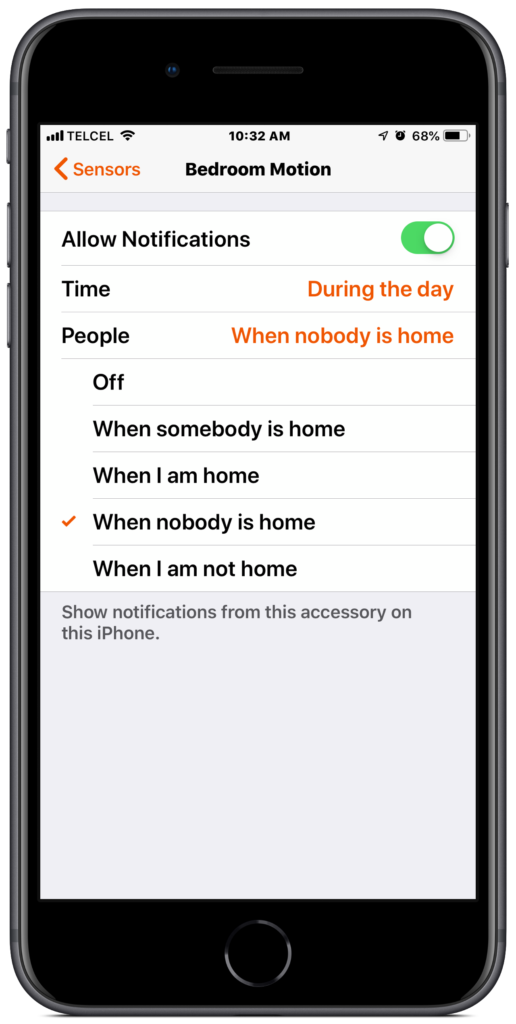
With iOS 12, the way notifications are managed changed slightly and we are now able to manage them from one convenient place in Apple’s Home app. From the “Home” tab, we tap on the Home settings icon at the top left and scroll down to “Notifications”. Depending on the type of accessories you have and how they are labeled, they may be categorized into “Doors & Locks” and “Sensors”. Tapping on these options will show you the individual accessories. Tapping on the individual accessory, we can choose to “Allow Notifications”. Additionally, we can create a more specific window based on specific times.
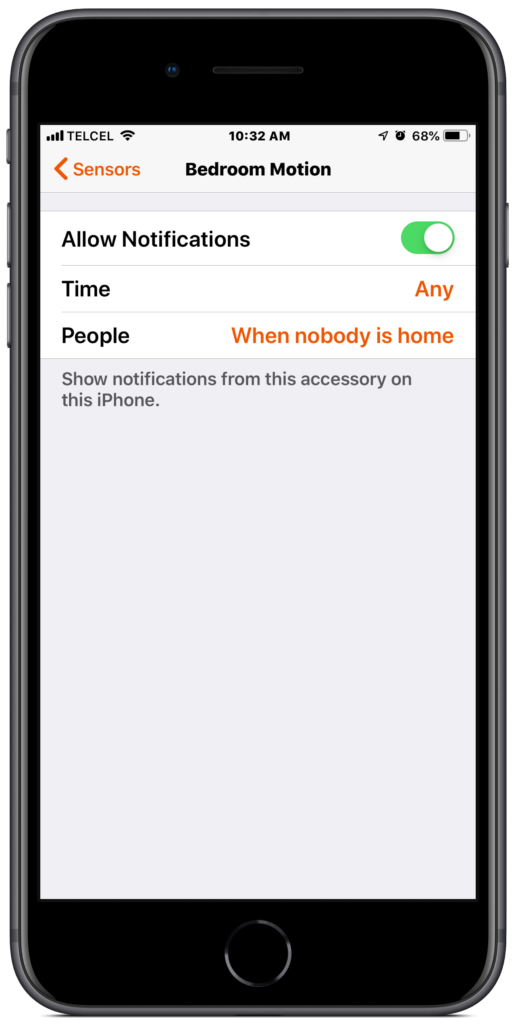
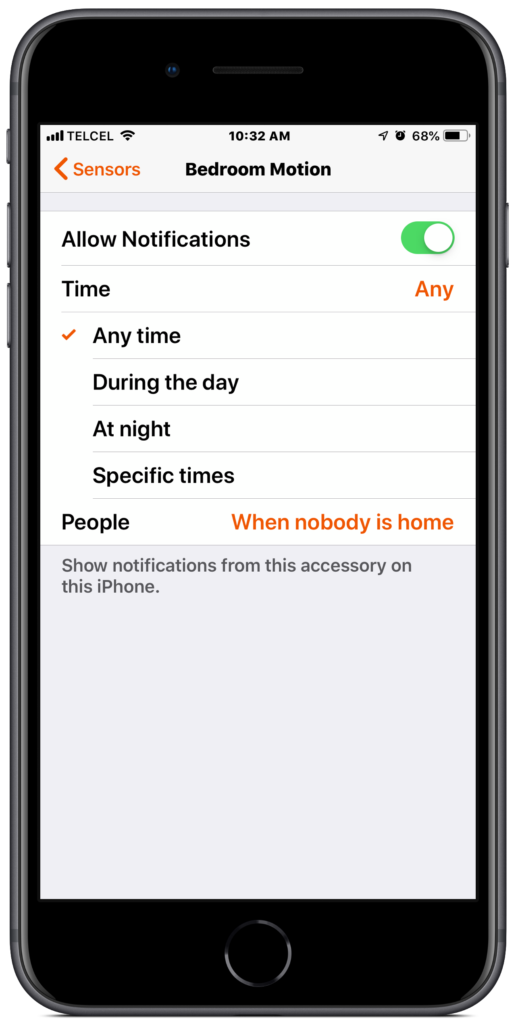
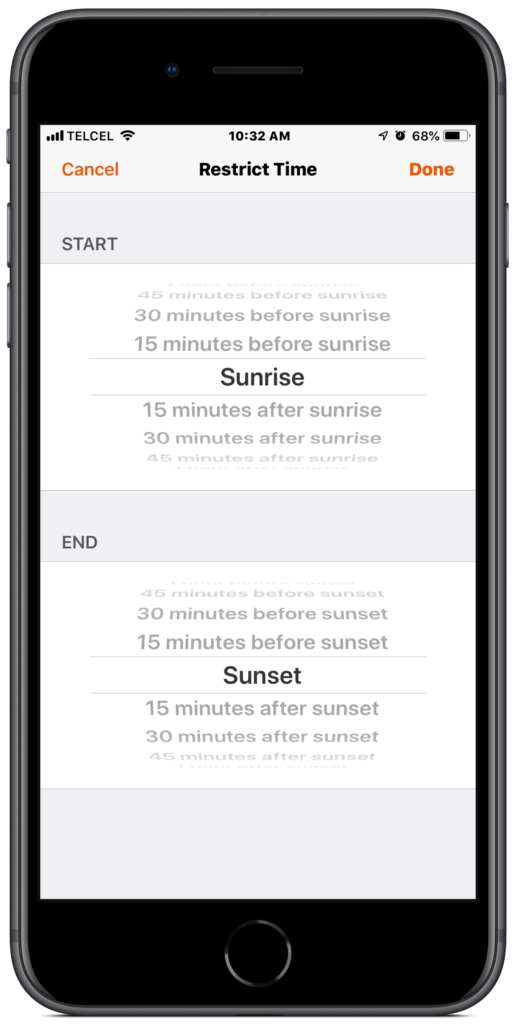
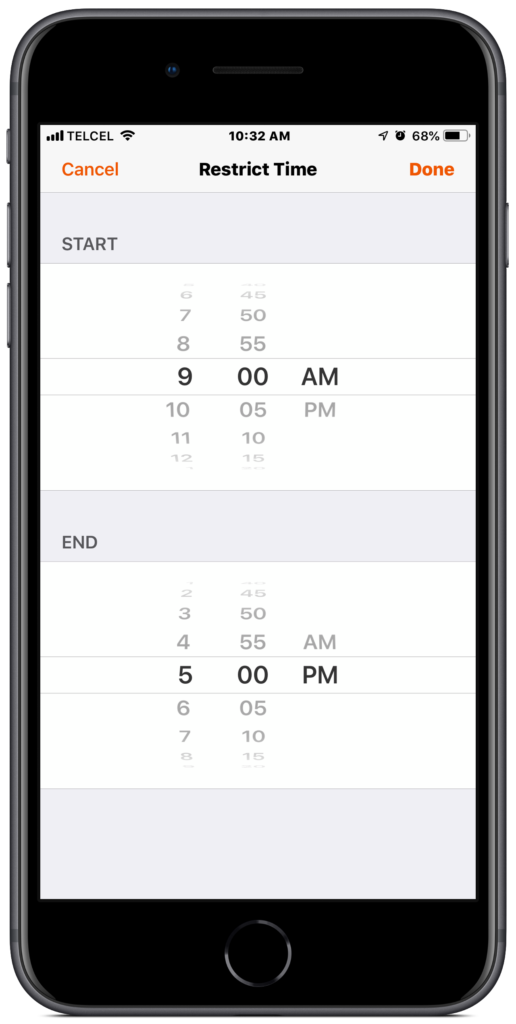
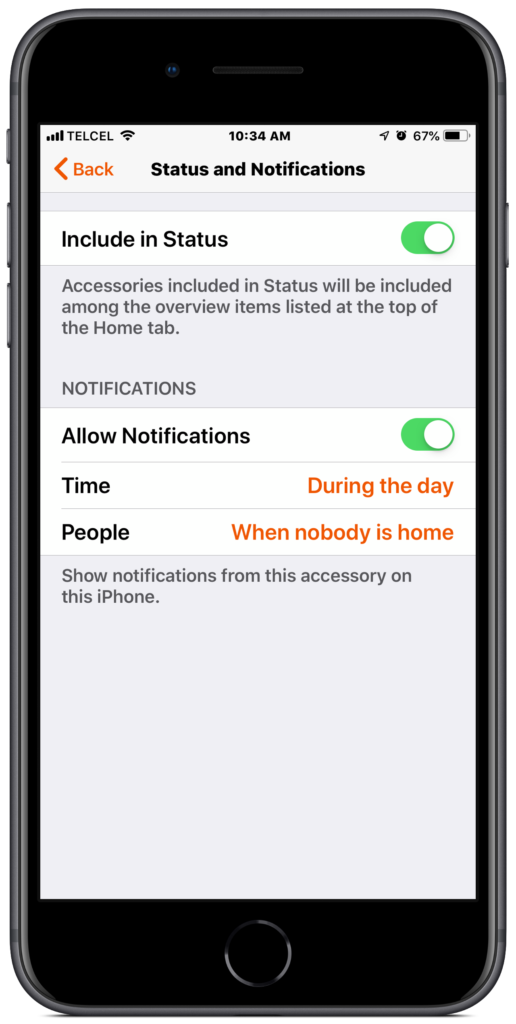
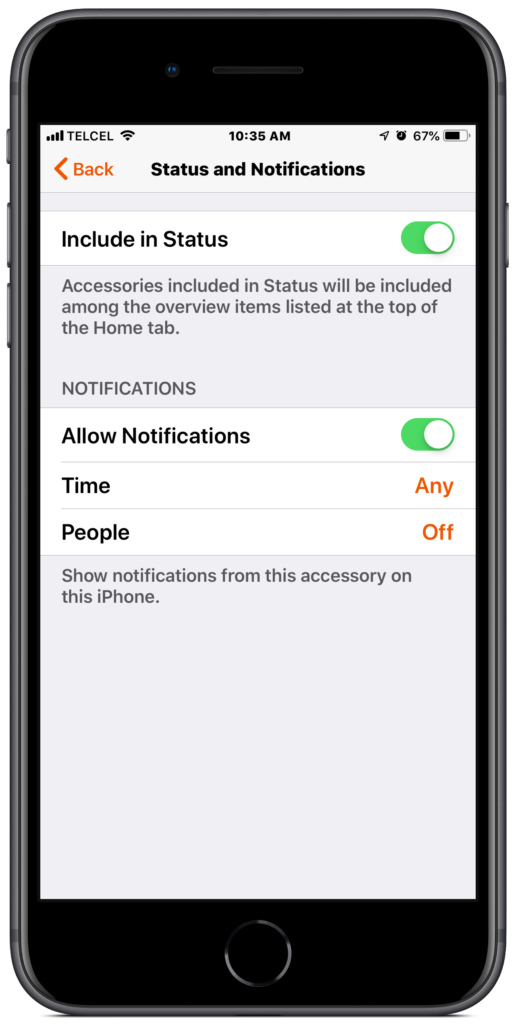
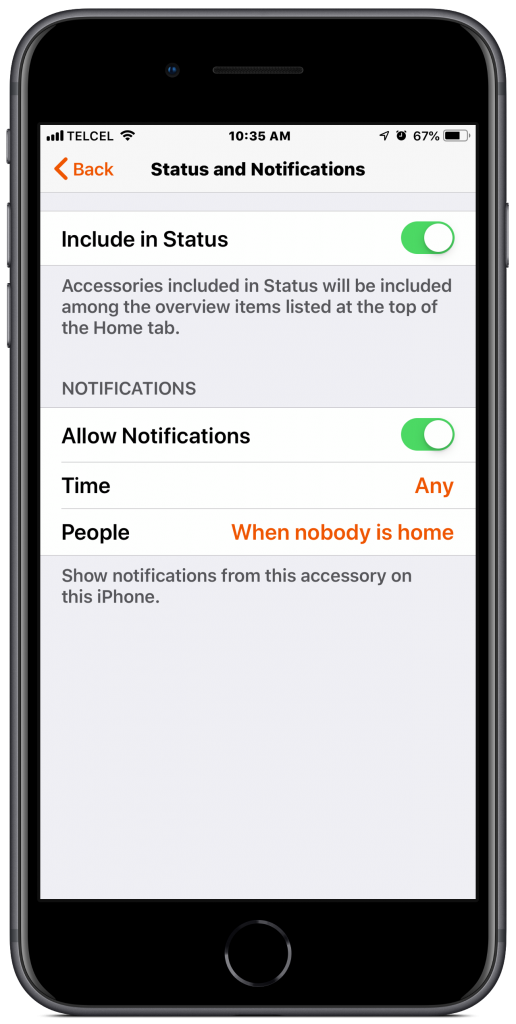
We can also add “Time” conditions for the notifications. Selecting “Any” essentially adds no time condition and you will receive notifications 24 hours a day. We can select “During the Day” or “At Night” which limits the notifications to those time periods and tapping the information button to the right of these two options allows us to adjust when the “day” or “night” begins in 15-minute increments up to an hour before or after “Sunrise” and “Sunset”.
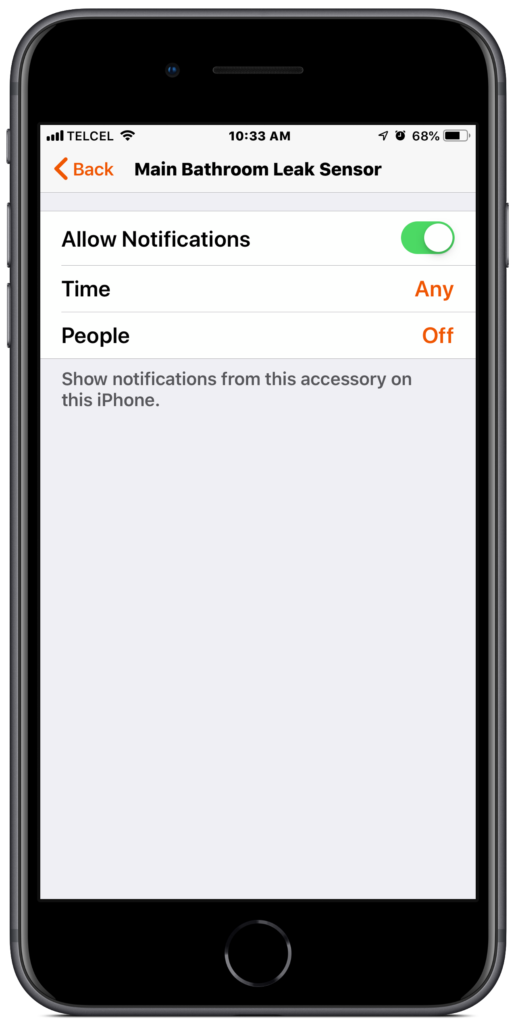
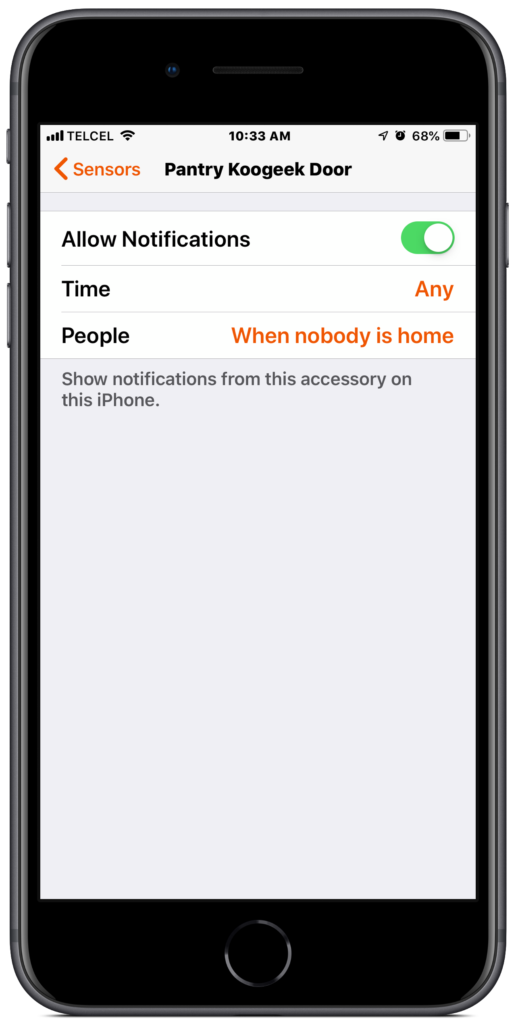
We can also restrict the notifications based on “People” being at home (connected to the WiFi network). We have the options of “Off” which does not restrict notifications based on people, but we can also select “When Somebody is Home”, “When I am Home”, “When Nobody is Home”, or “When I am Not Home”.
Accessory Notification Settings
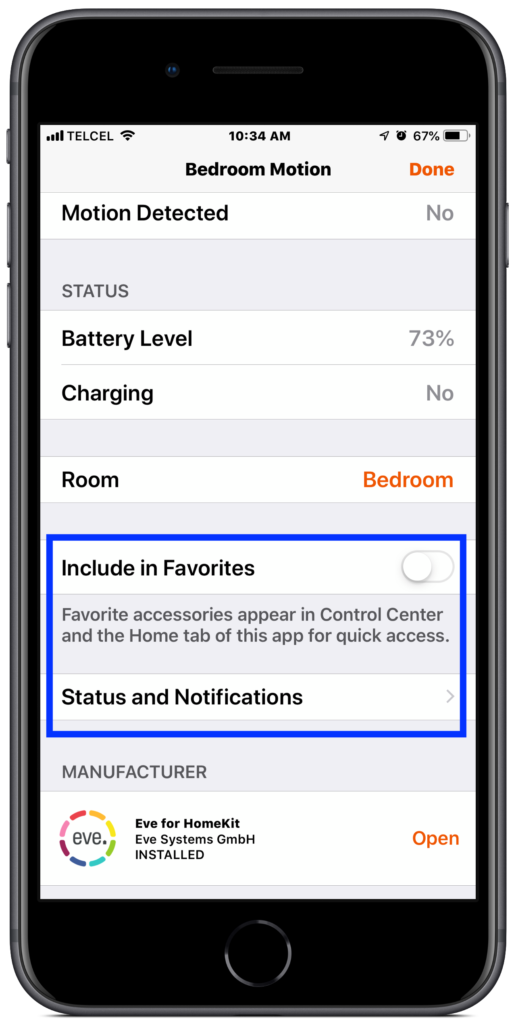
Though we can only access the notification settings from above through the Home tab of the Home app, we can also get at the notification settings per accessory. We have the option of including accessory’s in our “Favorites” which displays them on the “Home” tab. The first 9 accessories and 8 scenes are also included in Home control in Control Center. For more details on this, check out this other post.
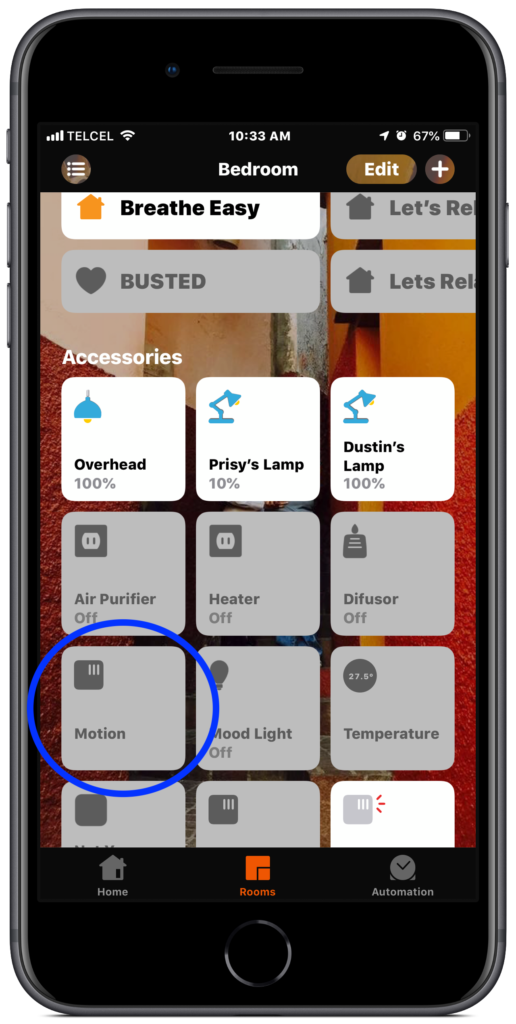
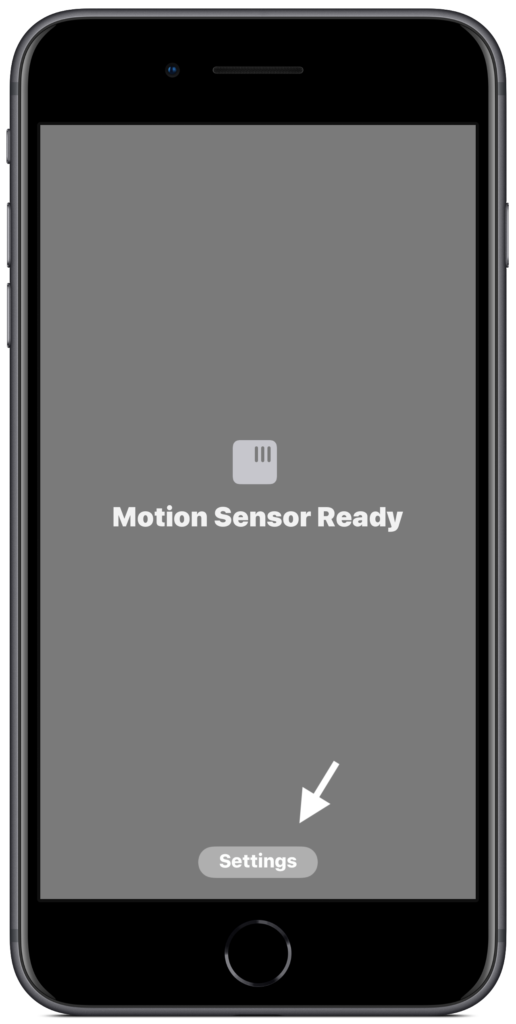
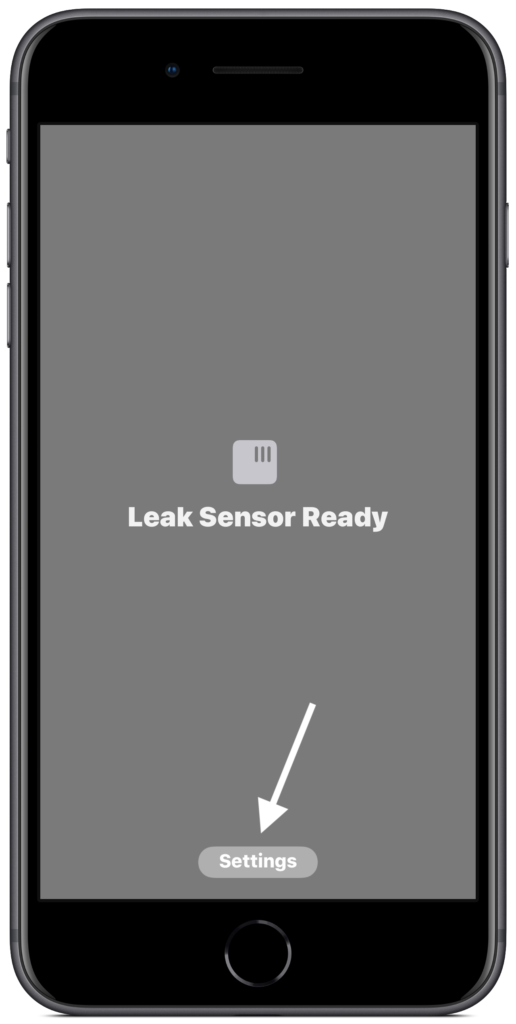
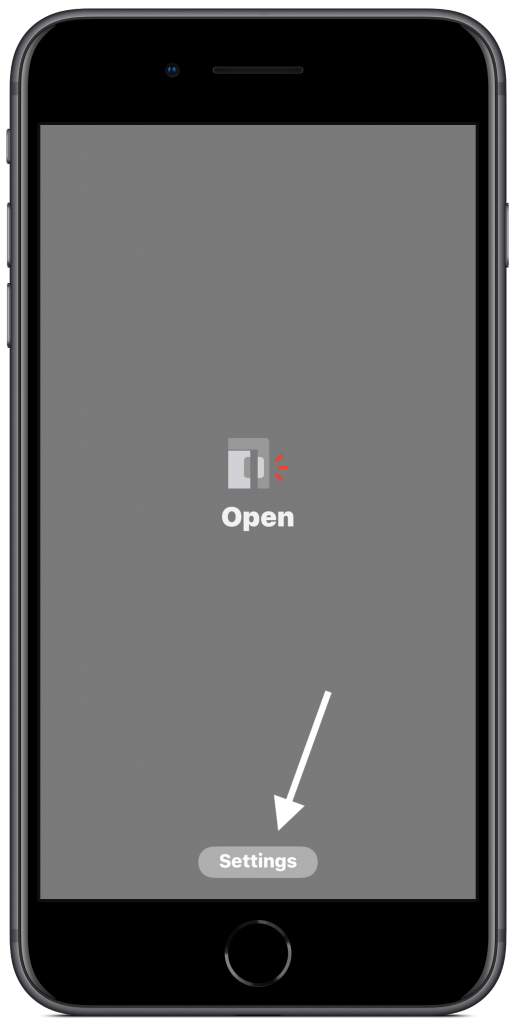
We can also find “Status and Notifications” parameters under the accessory’s “Settings” by long pressing on the accessory from the “Rooms” tab. Opting to include the accessory in “Status” will give you its state information on the “Home” tab of Apple’s Home app. Below are some screenshots of the notification options for a few different accessory types.
iOS Device Notification Settings
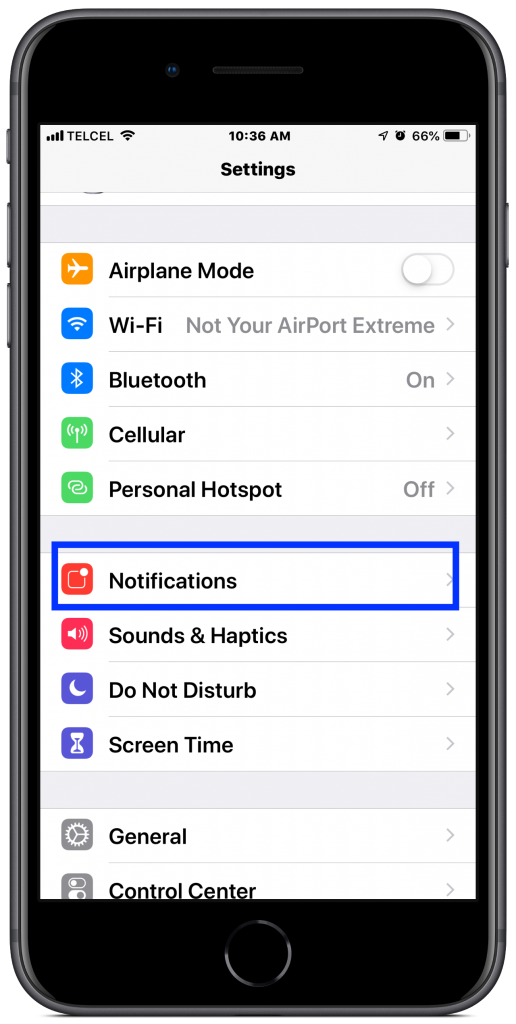
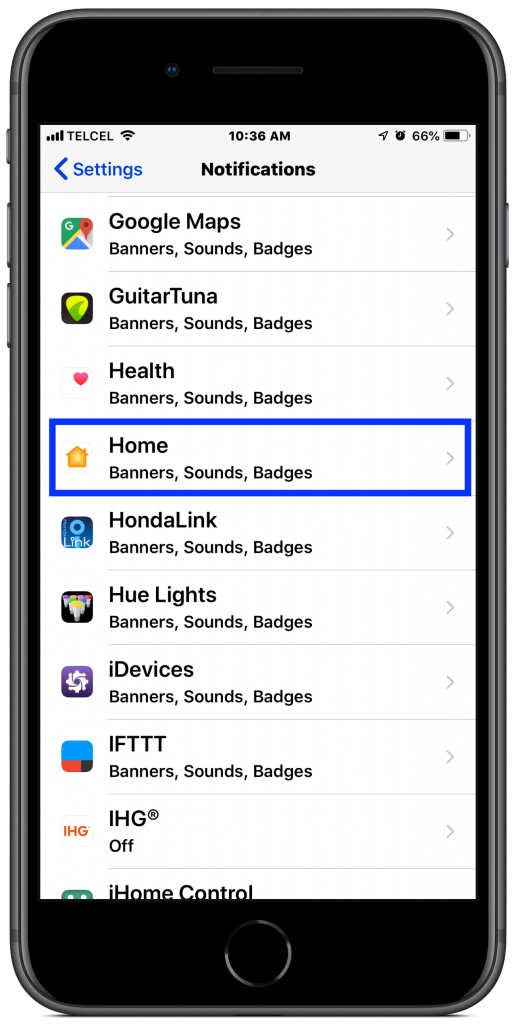
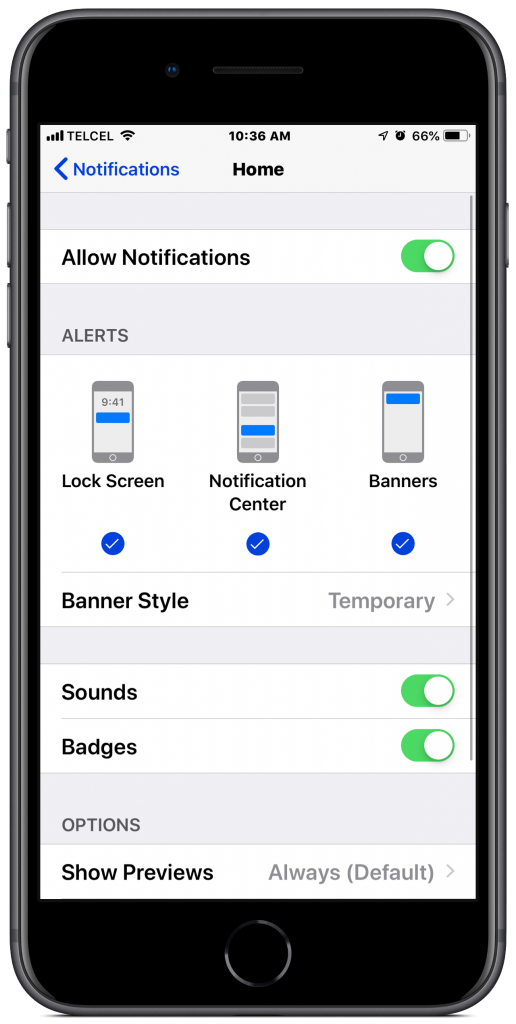
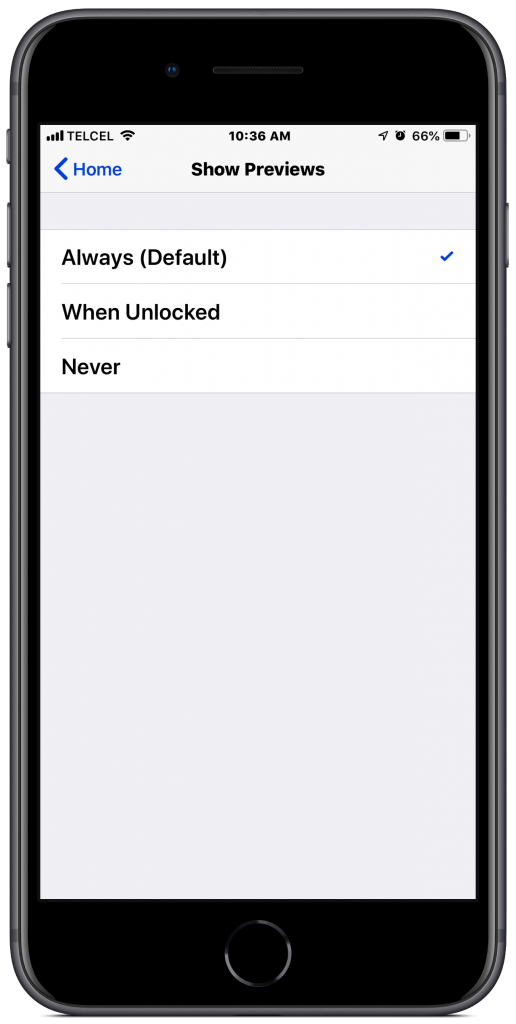
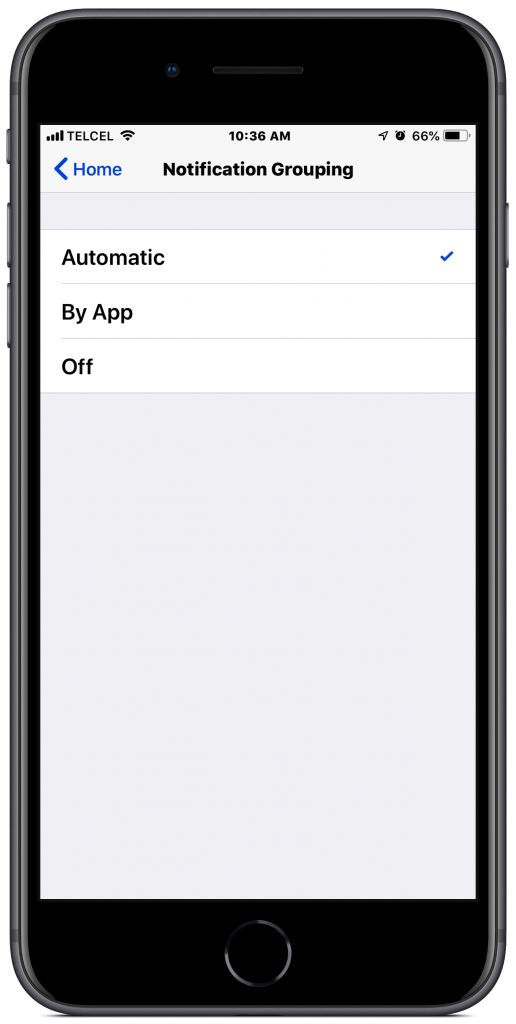
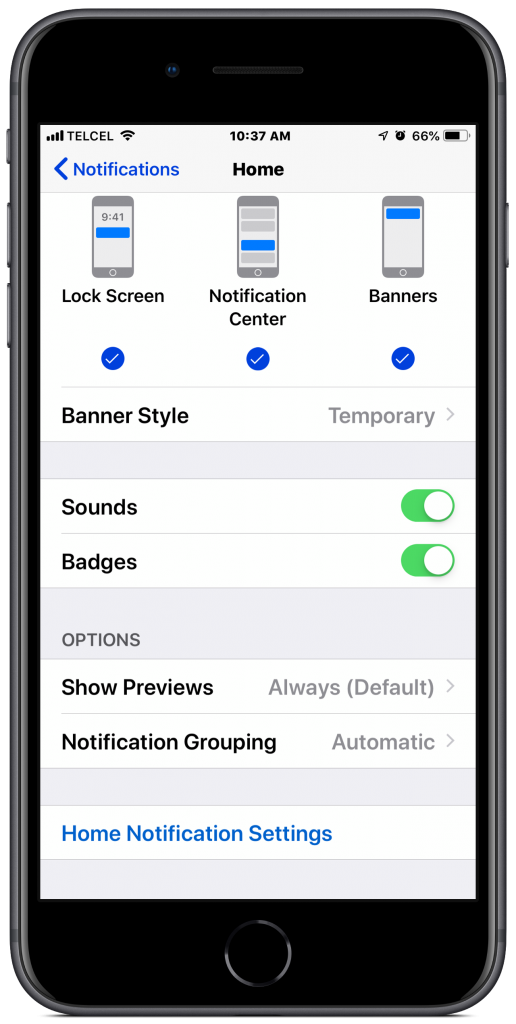
Finally, we can control how Home notifications are presented through your device’s “Settings” under “Notifications”. Tapping on “Home” under “Notifications” we can enable or disable all notifications from the Home app. We can also select if we want the alerts to appear on the “Lock Screen”, in “Notification Center”, or as “Banners” when using the device. If we choose “Banner” notifications, we can choose the “Style” as a temporary or permanent banner. The temporary banner will appear for only a few seconds and then slide away and the permanent banner will stay until you address it. Tapping on either banner style will take you to the Home app for more information. We can allow “Sounds” and “Badges” if we would like, but unfortunately we cannot customize the sound for Home notifications which I think would be useful. Further more, we have the option of choosing how we can interact with the notification “Preview” choosing between “Always”, “When Unlocked”, or “Never”. Lastly, we can adjust “Notification Grouping” which can be set to “Automatic”, “By app”, or “Never”. There is also a link to our “Home Notification Settings” which takes you back to what we discussed in the first section of this post.
Final Thoughts
If you’ve followed myHomeKithome, then you might have noticed my interest in our home reacting to us more than us interacting with it and notifications definitely play a big role in this. Something we definitely want to keep in mind with notifications is that they are individualized from device to device and are not transferred neither to all people invited to a Home nor do they transfer from multiple devices logged in with the same Apple ID. So this is something you’ll want to adjust on all devices using Apple’s Home app.
Notifications in HomeKit are by no means perfect, however. At the time of writing this article, we can only receive notifications on certain accessories like locks, garage doors, and certain sensors. I would like to see this expanded to all HomeKit accessories. Imagine receiving a notification if a certain light is turned on when there shouldn’t be anyone in a room. I’d also like notifications brought to accessories with a range of states such as temperature and humidity sensors and blinds. Finally, how nice would it be if we could be notified when an automation runs? Think about receiving a notification when you are out and about that lets you know that an automation you have created to control the temperature in a room with musical instruments has been triggered, for example. Added peace of mind, again.
How do you use notifications in HomeKit? Are there any specific changes to notifications that you would like to see in future iOS updates? Tell us about it in the comments. You can also stay notified of all sorts of HomeKit related goings-on through our social media @myhomekithome.
We use income-earning affiliate links.
We may receive a small commission on purchases made using links on this page at no extra cost to you.
