You might be aware of how to change color and temperature for lighting in the Home app, but did you know you can change the preset colors and temperatures? I personally find it annoying when I have slightly different colors or light temperatures in a room or scene. This can help create consistency not only in your lighting, but it can make certain actions much easier when creating scenes. Here’s how to do it!
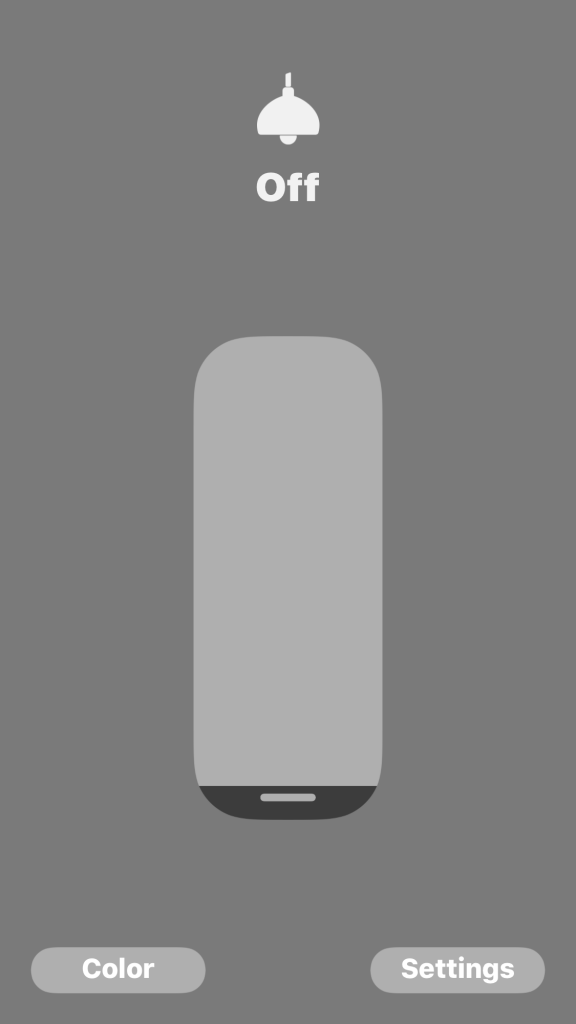
1. 3D or long press on the icon for light that supports color or temperature changing. HomeKit automatically recognizes which bulbs can do what. You should also know since, well, you payed for the light. Tap on ‘Color’ or ‘Temperature’ on the bottom left.
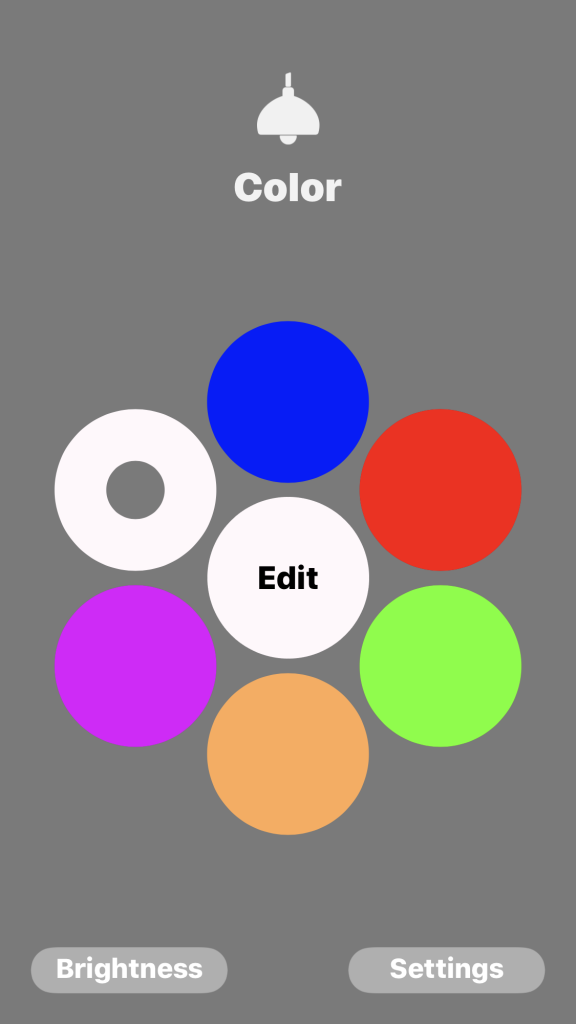
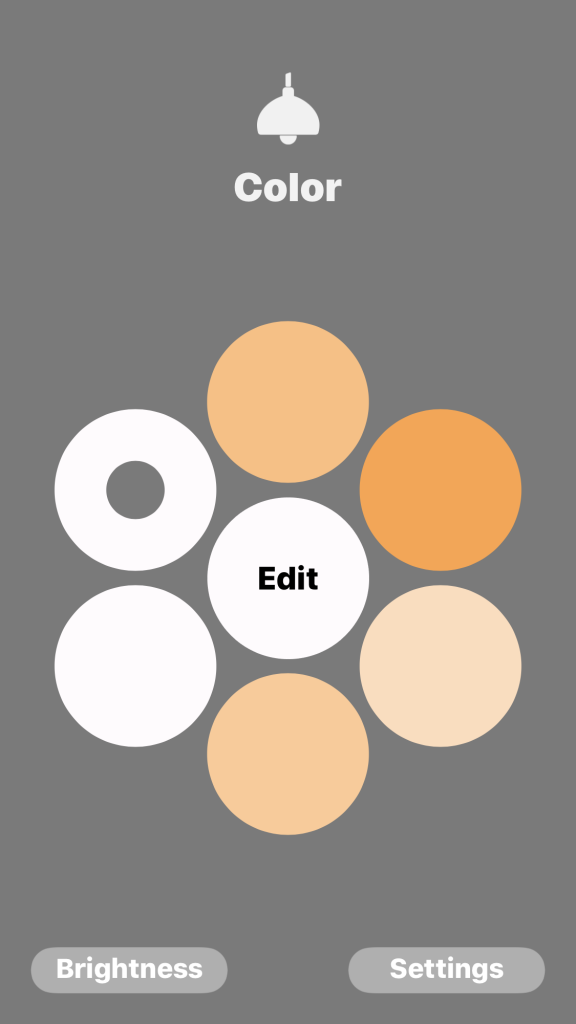
2. You’ll see 6 different presets on the outside with an “edit” button in the middle. Tap “Edit”.
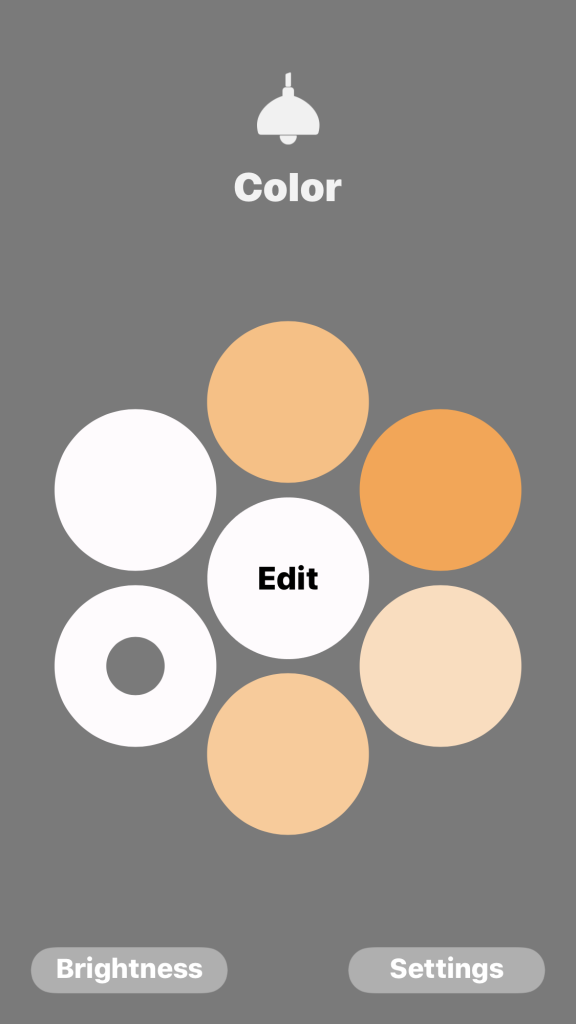
3. For temperature, you will see the scroll wheel for cool to warm temperatures. Scroll around until you find one that suits your mood. Tap “Done”
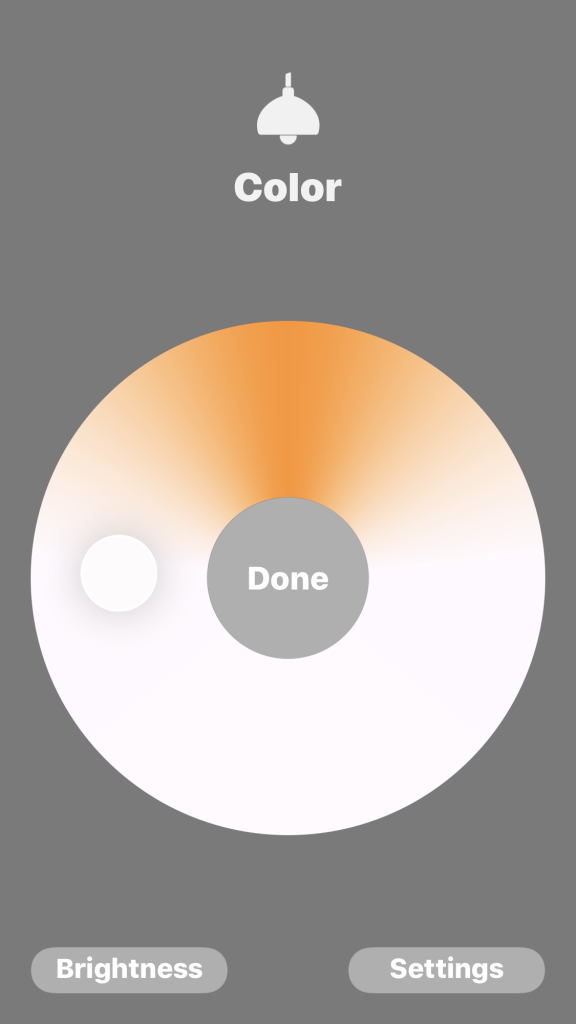
4. We have six different presets that we can assign. Long press on the circle that you would like to change the preset to and, Voila!, preset assigned.
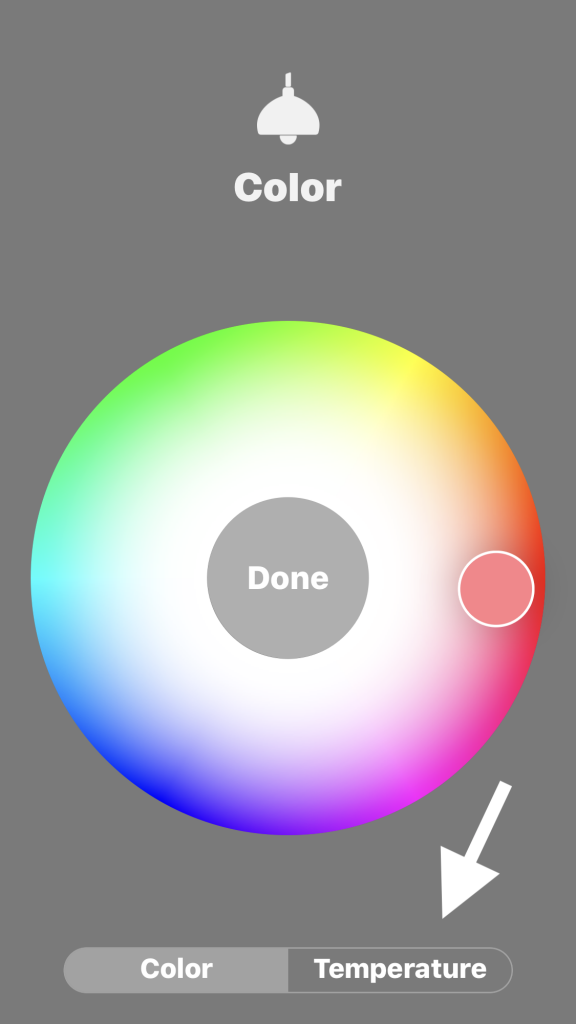
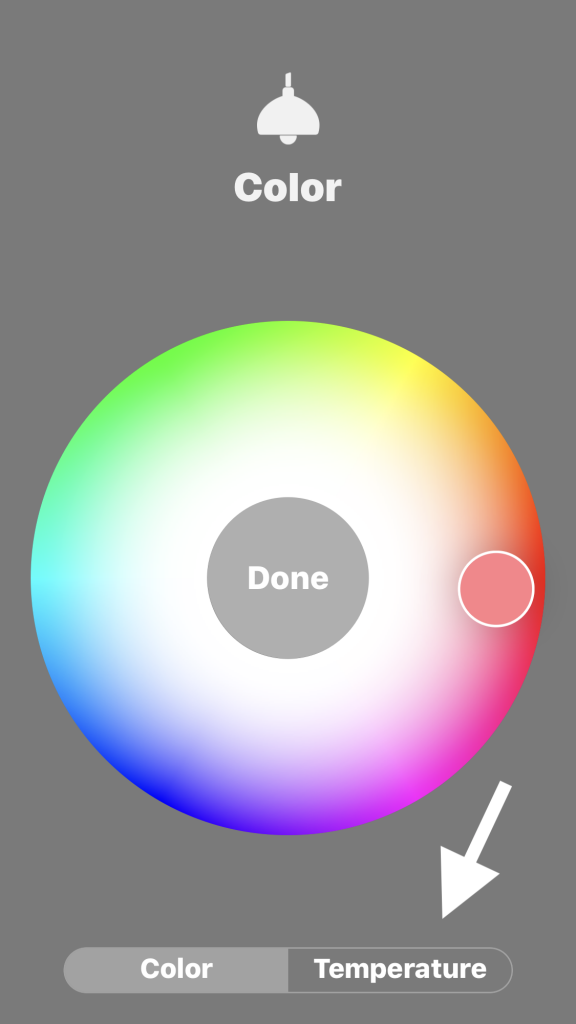
5. The same goes for the color presets. Long press a bulb that supports color and select “Color” on the bottom. This will bring you to the presets and color wheel. Tap “Edit”
6. Scroll around until you’ve found the perfect “hue” and tap “Done”.
7. Long press on one of the six preset circles to assign that color and, Whammy!, you’ve customized your color preset.
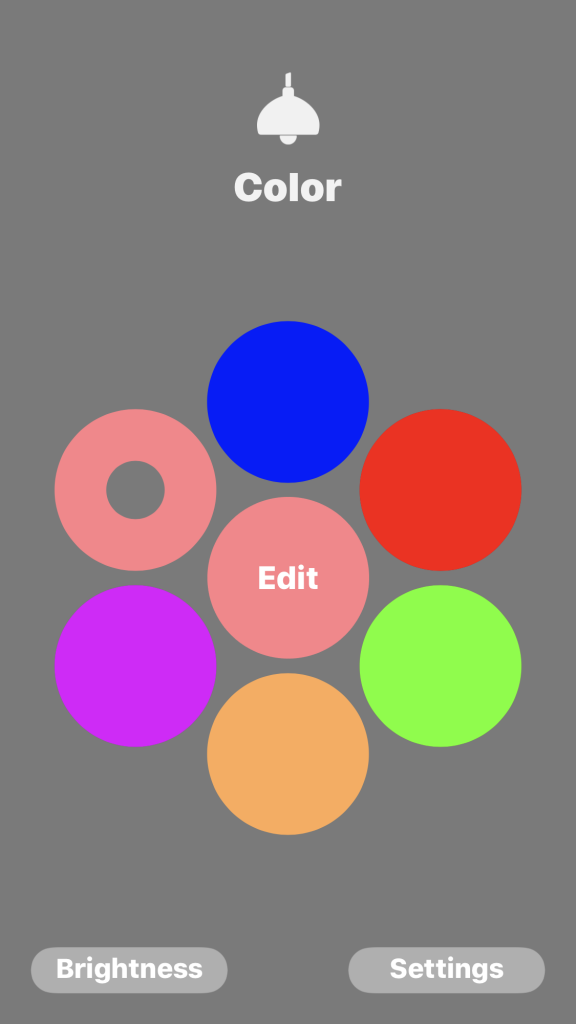
Note: If you have a color bulb, you can also assign temperature presets by tapping “Temperature” instead of “Color” when at the color wheel.
What colors or temperatures do you use most often? I personally tend to stick standard shades unless I’ve got a specific scene for a room, but would love to hear how you customize your HomeKit home so let us know in the comments and don’t forget to follow us on Facebook, Twitter, and Instagram @myhomekithome.
We use income-earning affiliate links.
We may receive a small commission on purchases made using links on this page at no extra cost to you.
