Of the plethora of smart lighting options out there, by far the two biggest players are the ever-ubiquitous Phillips Hue and the up-and-comer LIFX., each of which have their favorable traits and drawbacks. Certainly, the two companies would prefer brand loyalty, but consumers want freedom. I’m not a fan of partisan politics and the same goes for my views on home automation which is one of the reasons why I dig on HomeKit. While yes, I am quite aware that other systems integrate other products also, we’re not here to talk about those. Through the HomeKit framework, it is possible to Transformer these two juggernauts and get the best of both worlds. First, perhaps a bit of context is in order. This post will show you how to connect a Phillips Hue Dimmer Switch to control a LIFX A19 bulb.
My wife and I recently moved houses and we turned one of the spare bedrooms into a beauty and fashion haven for her. As I was setting up all of the lighting at the new place, she abruptly stopped me as I was putting in a Hue bulb in her sanctuary saying that she didn’t want smart lighting because it was too dim and that she didn’t want to have to shimmy and shake in order to trigger a motion sensor if she were putting on make-up. Both of which are valid concerns. While this may have deterred any normal person, I just took it as an excuse to buy another HomeKit accessory. While of course she could simply turn the light on and off with the standard toggle switch already in the room, what’s the point of smart lighting if you can’t have a little fun with it? So I picked up the comparatively brighter LIFX A19 bulb for this application. It then occurred to me turning the smart bulb on and off at the standard switch defeated the purpose of having a smart bulb. I rifled through my still-as-of-yet completely set up smart home toy box and found a spare Hue dimmer switch that would work like a champ… with HomeKit, of course.
To follow along, here’s what you’ll need:
- Apple Home hub- Apple TV, iPad, or HomePod
- Apple’s Home app
- Phillips Hue Dimmer Switch (connected to the Phillips Hue bridge)
- LIFX A19 Smart WiFI Color LED bulb
Links to everything you’ll need can be found in the Links & Resources section at the bottom of this post.
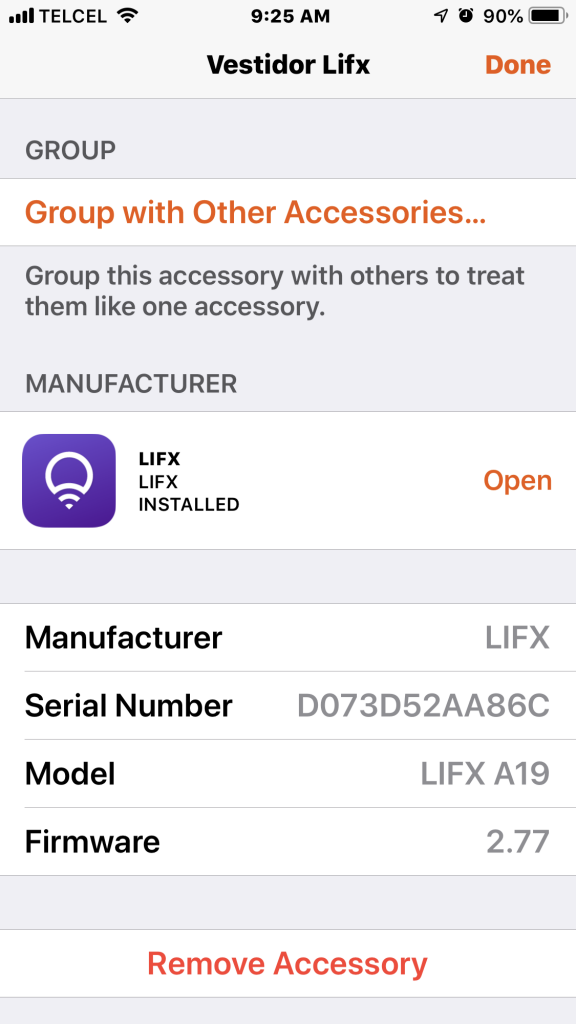
Before getting started, you’ll want to setup the two accessories in HomeKit. If you need help with this, here are two videos that should help you out:
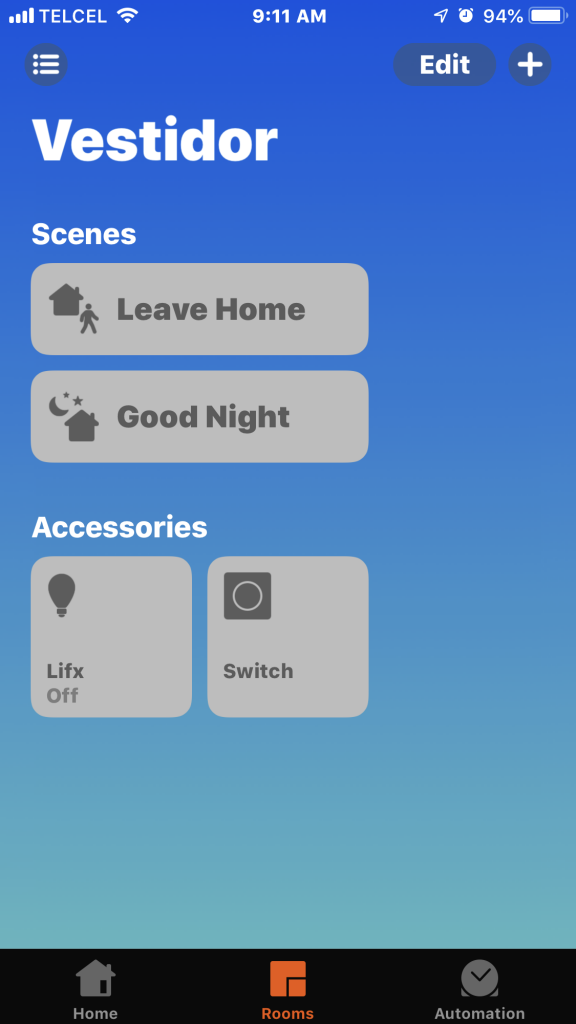
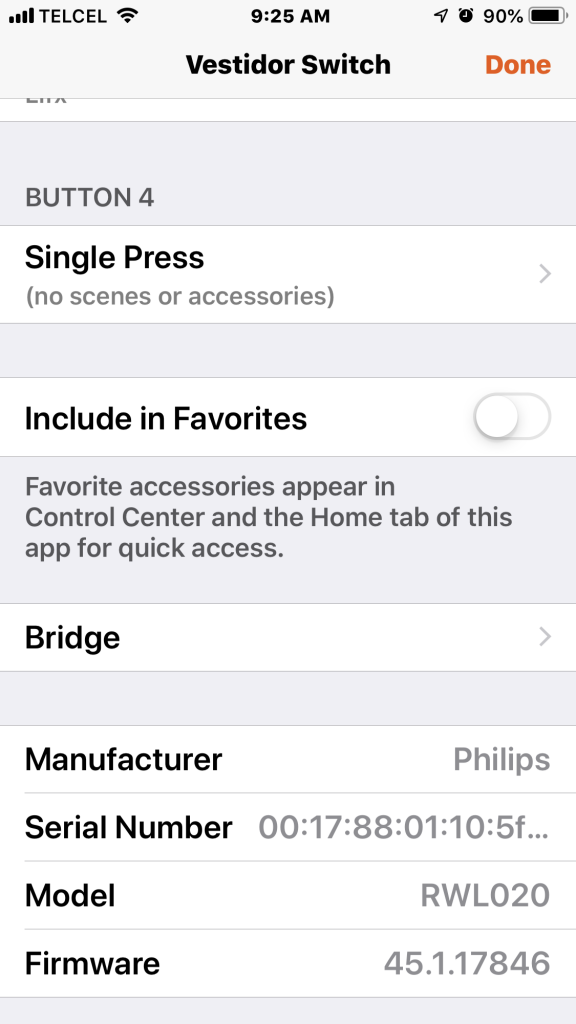
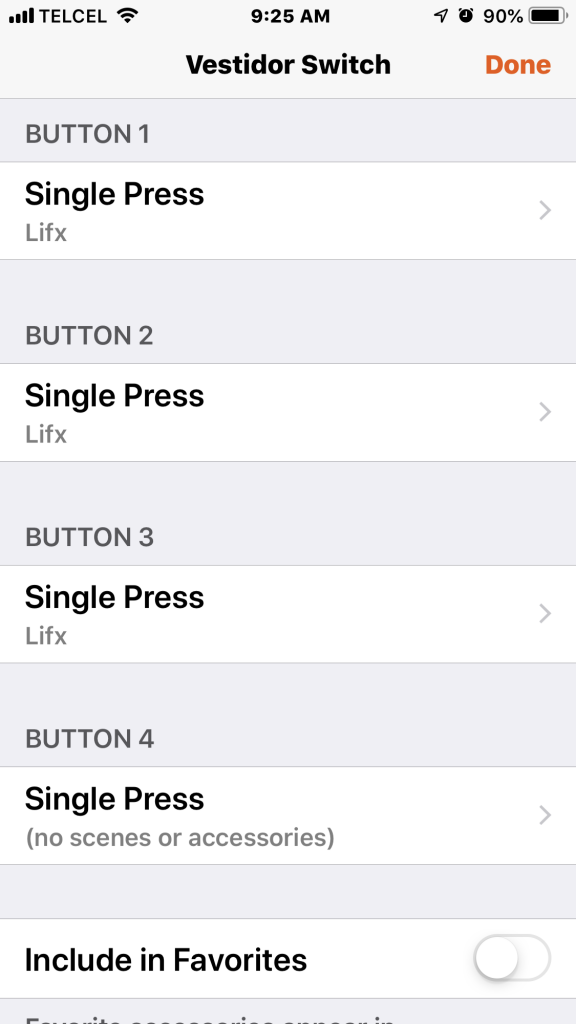
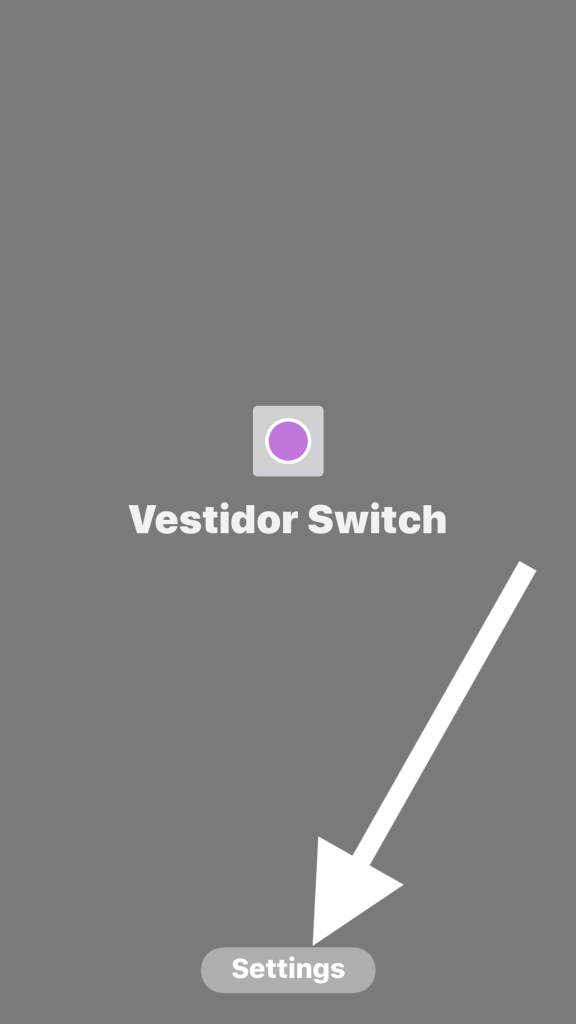
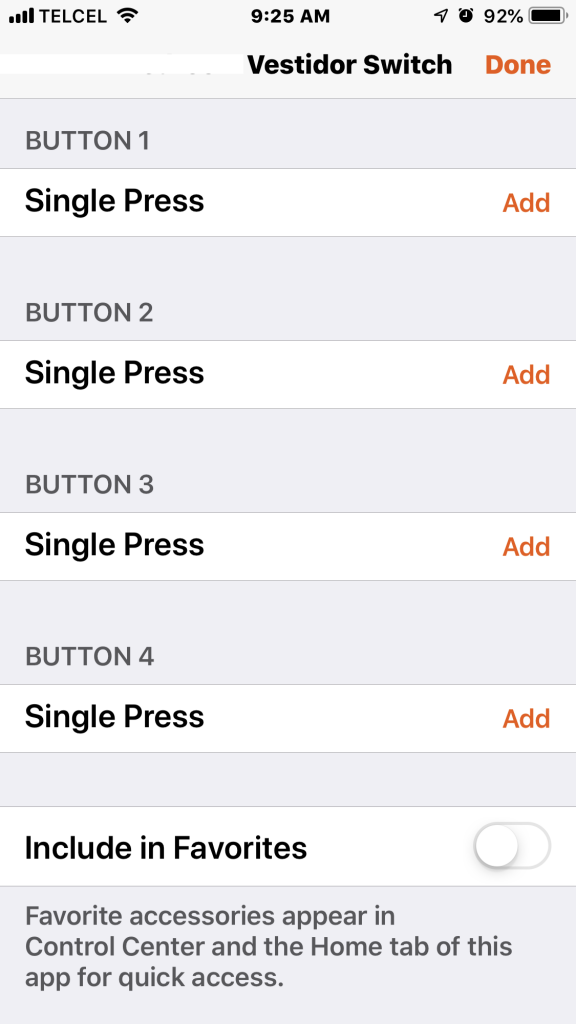
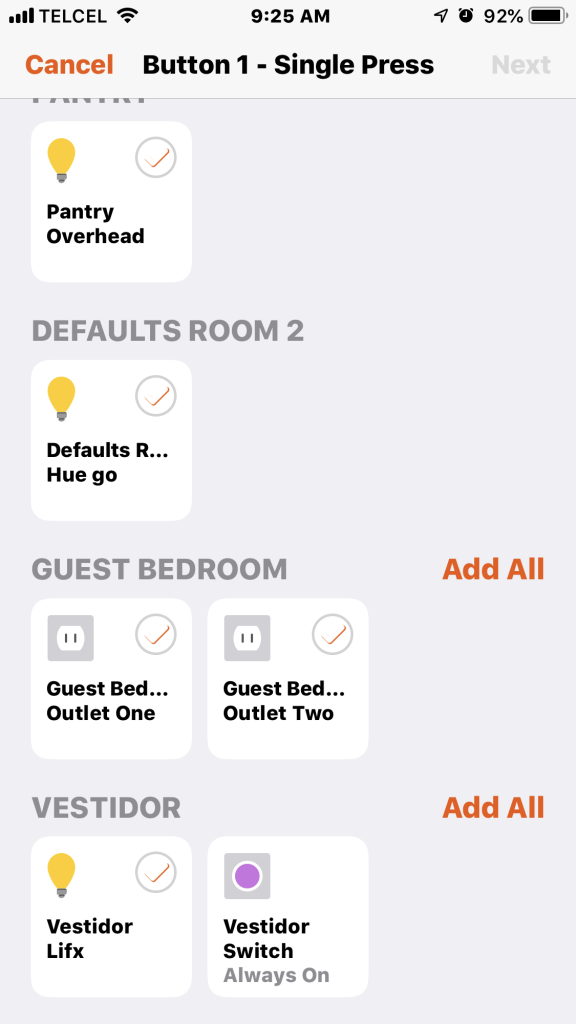
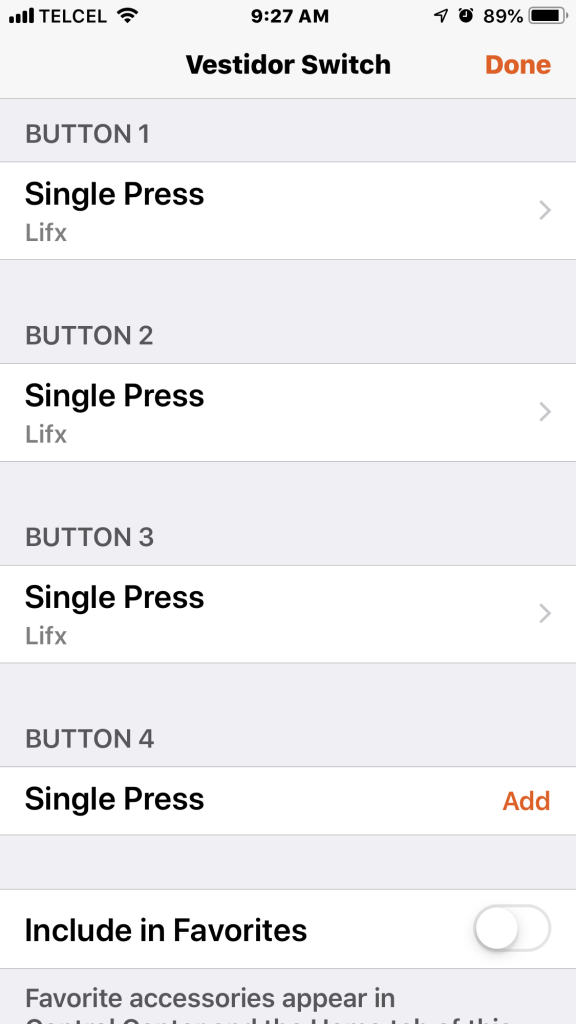
1. Though not exactly necessary, but more practical, place the two accessories in the same room in the Home app. After locating the switch, long pressing, and tapping on settings, we are shown that the four buttons of the Hue dimmer switch are programmable. This part is a little misleading as a “Single Press” option is displayed leading us to think that there might be other options, but unfortunately there are not for the Phillips Hue Dimmer Switch.
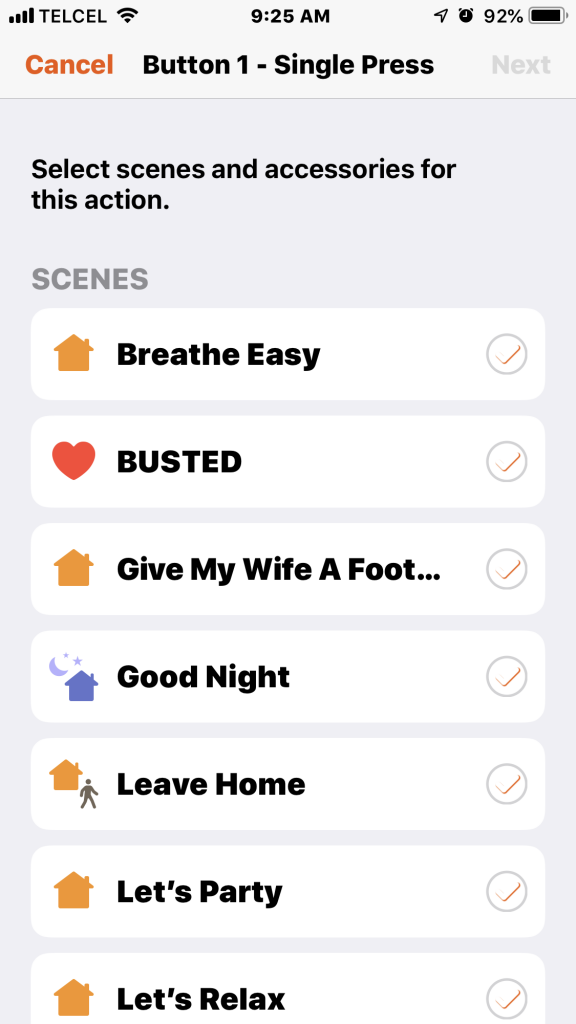
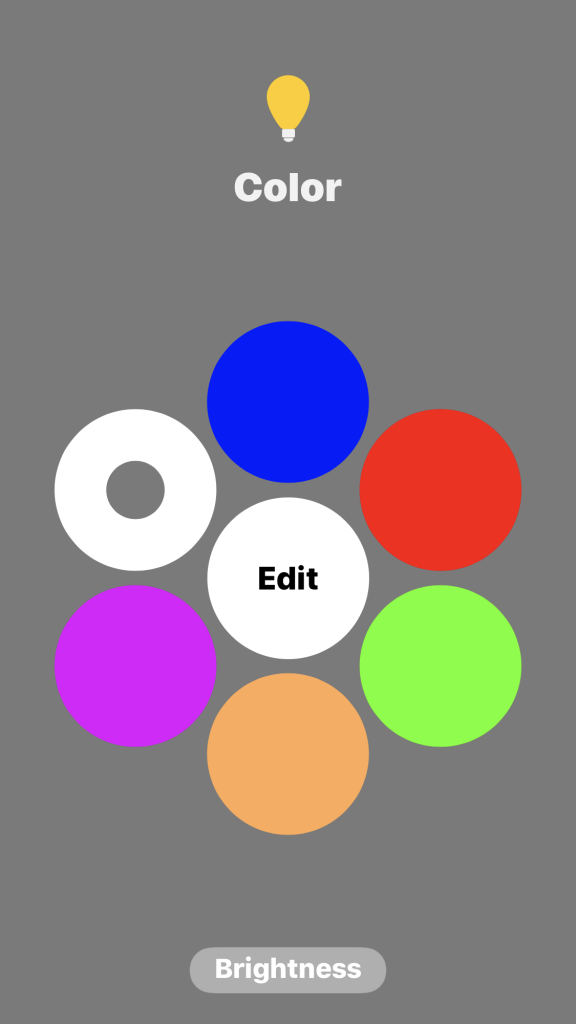
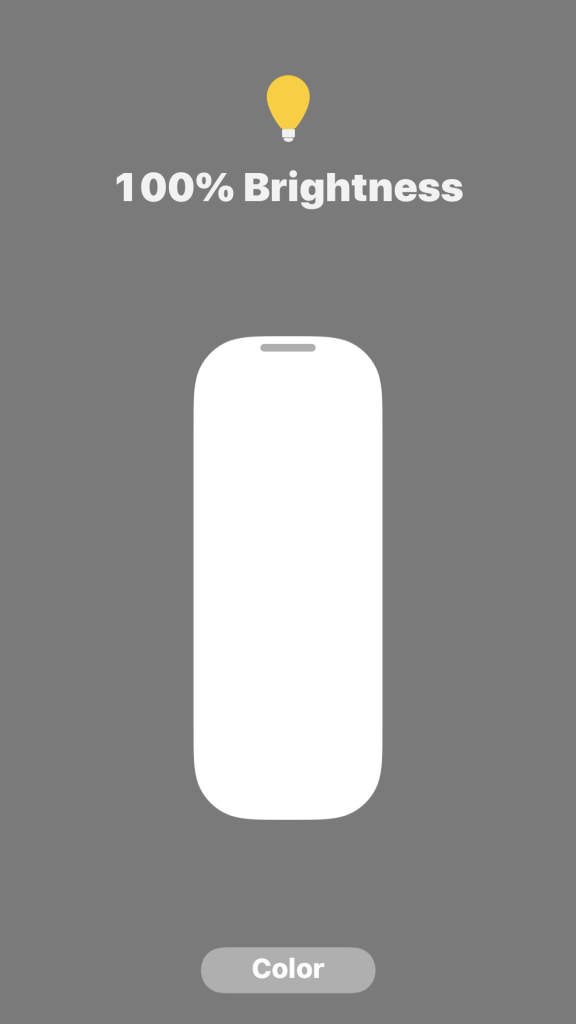
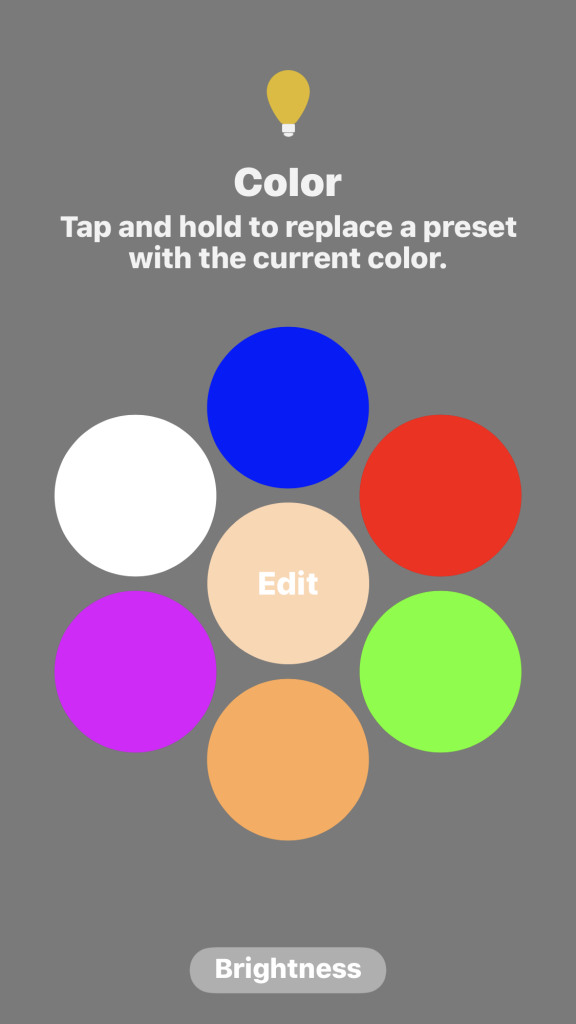
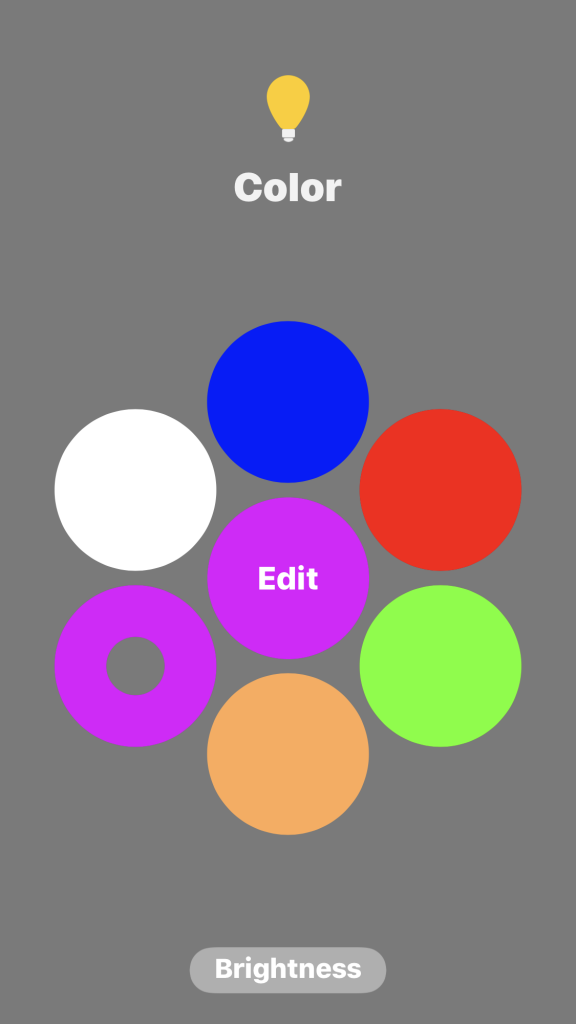
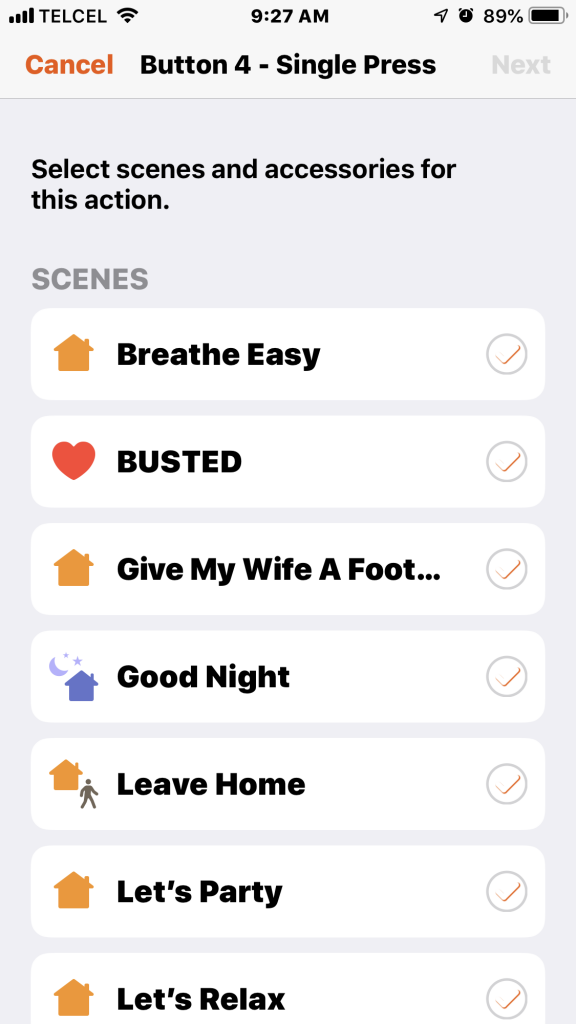
2. Once we’ve tapped on “Single Press”, we’ll “Add an Accessory or Scene”. Since I am only wanting to control the one light, I chose that light at the bottom of the list. Once the accessory is linked to the button, we can long-press to control it’s actions. The same goes for all 4 buttons though we are not restricted to assigning just actions related to the first assigned accessory. For the first button, I chose a cooler white at 100% brightness as that seemed the most appropriate.
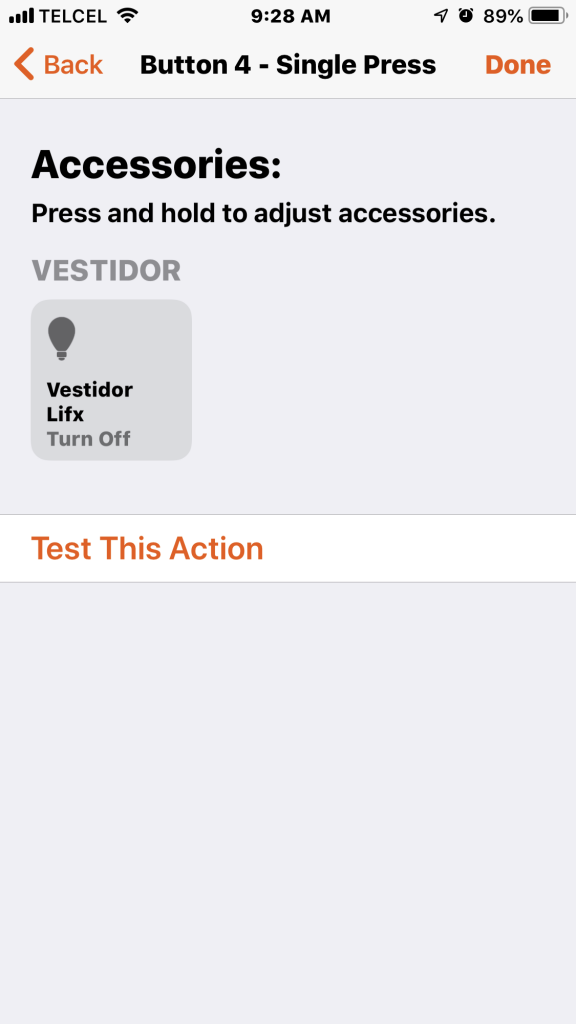
3. Rinse, wash, repeat, and cook to your desired doneness. I set button 2 to a warmer color temperature. After of course consulting with my wife, I decided to set button 3 as the fun light setting it to her favorite color, purple. Finally, The fourth button was programmed to turn the bulb off for obvious reasons.
4. The light in this room can sometimes be neglected and can be forgotten to be turned off. Thankfully, we can set a countdown timer to ensure that this happens, but you’ll want to do this for each button’s actionn.
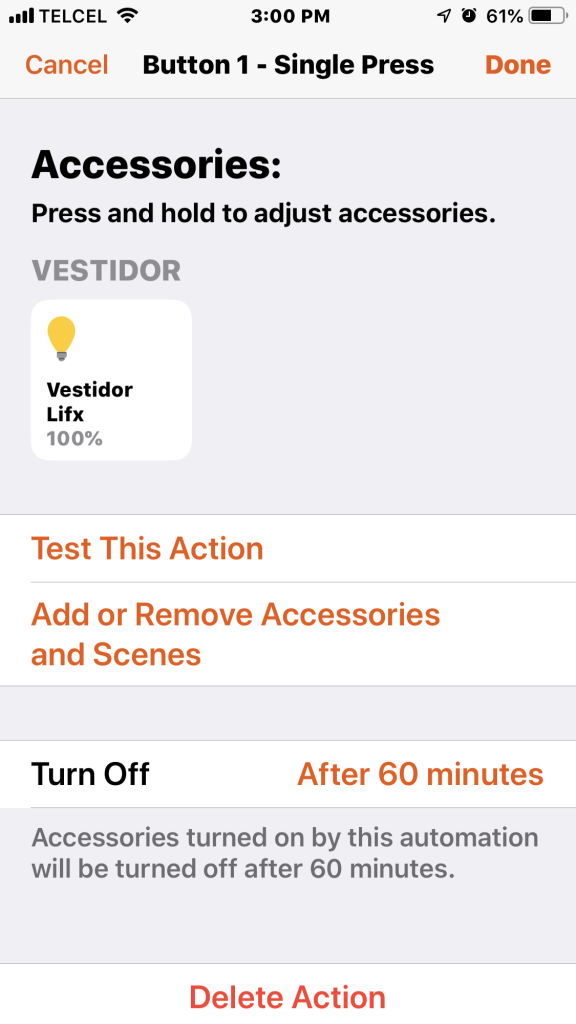
5. It really is just that easy and the beauty of HomeKit. You of course are not only limited to controlling accessories. You can choose an entire scene to be controlled by a button, but since this switch controls the accessories in this particular room and I’m too poor, or cheap depending on how you want to spin it, to buy other LIFX products for the room, control of the one bulb will suffice for now. You can also add the switch to your favorites, but i really don’t see the point as there is no actual control of the buttons in HomeKit. I can see why this isn’t part of the HomeKit framework as you can choose the scene or adjust the accessory from basically the same place, but the obligatory complaint about functionality and demand for more must be made.
Final Thoughts
While admittedly this was a pretty outrageous project and nearly the same results could have been carried out in a number of other ways and for less money, it was an exercise in how great of a unifier HomeKit really is. My particular use-case is very straight-forward, but the same principals can be applied to most other products repping HomeKit. It’s worth mentioning that once we configure the Dimmer switch with HomeKit, it will lose functionality in the Hue app. To reverse this, we have only to remove the actions inn the Home app and then configure it in the Hue app. As you might imagine also, the dimming function is also disabled once we configure the Dimmer switch in HomeKit. There is no perfect solution…or is there. We’ll keep looking.
In what ways do you combine HomeKit accessories? Do you use physical buttons or switches? Share your thoughts in the comments. Follow us on social media @myhomehithome to get more HomeKit content.
Links & Resources
We use income-earning affiliate links.
We may receive a small commission on purchases made using links on this page at no extra cost to you.
